How to Record a Meeting in Teams: 6 Best Ways
Microsoft Teams is considered one of the best tools for video calls and is widely used in workplaces and educational institutions. Recording Teams meetings allows you to capture and preserve valuable discussions, presentations, and collaborations. This eliminates the need for manual note-taking and ensures that important information can be revisited at any time.
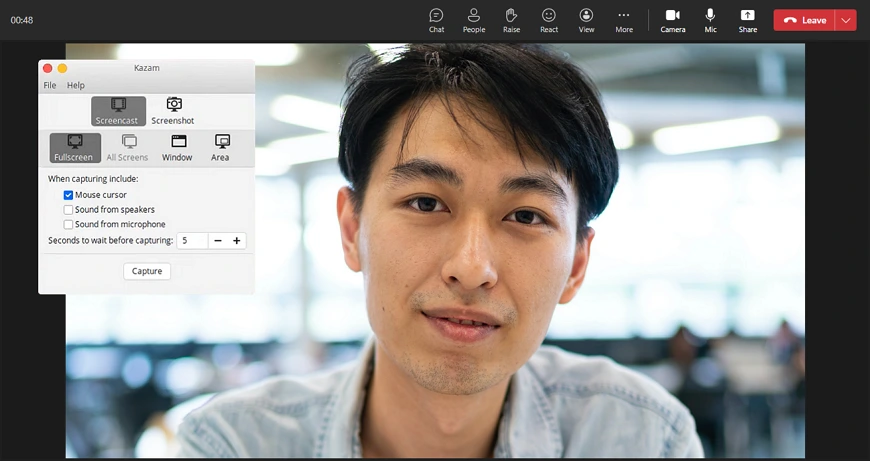
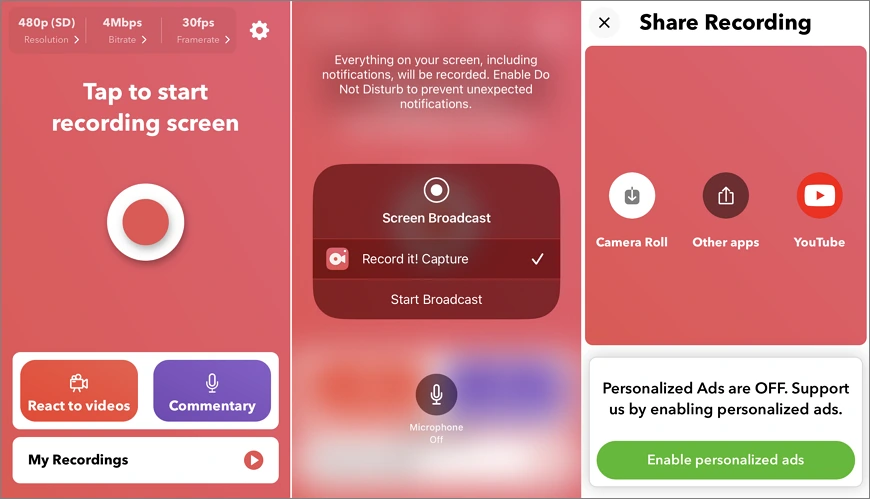
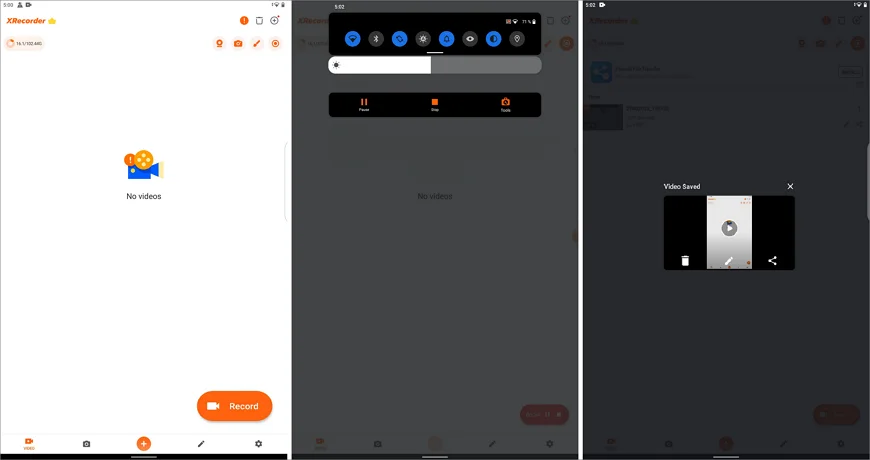
Microsoft Teams features a screen recording tool, but it has storage and functionality limitations. That is why in this article, we'll talk about using the embedded Microsoft recorder, but will also show you how to record a Teams meeting with the help of alternative noteworthy tools. This guide will cover desktop programs for Windows, Mac, and Linux, as well as mobile screen recorders for iOS and Android devices.
So, can you record a Teams meeting without downloading anything? The answer is yes. The recording tool in Microsoft Teams lets you capture meeting content without any additional downloads. Below, you’ll find out some specifics of using this tool - knowing them, you can figure out if it’s a suitable option for you.

How to Record a Teams Meeting with the MS Teams Tool
The Teams built-in feature for capturing an online meeting is the number one choice for the users of the platform. This tool records the key aspects of a meeting, such as audio conversations and some content shared on the screen. It automatically uploads a recorded file to OneDrive which allows instant sharing with other participants.
To use the Teams recorder, you’ll need to meet several requirements. Besides, there are some disadvantages you need to be aware of before you try this tool at your upcoming meeting. This is what you need to consider:
You need a license.
For recording a video meeting, one of these licenses is required: Office 365 Enterprise E1, E3, E5, F3, A1, A3, A5, Business Essentials, M365 Business, or Business Premium.
Guests can’t record a call.
Only the organizer and other participants from the same organization can record a Teams meeting. If you’re a guest or an anonymous user, you won’t be able to start and finish a recording session.
Recording expiration.
As an admin, you need to set the expiration date - after the set period of time, the recorded Teams meeting will be automatically deleted.
You can’t record a call secretly.
When the recording starts, a notification is displayed to inform all participants that the meeting is being recorded and transcribed.
Some aspects of a meeting can't be captured.
Recordings of meetings don’t capture the information displayed on whiteboards, added notes, and annotations. Videos and animations from PowerPoint Live presentations will not be included in recordings either.
The quality can be affected by connection issues.
If there are interruptions or a poor Internet connection during your online meeting, it may result in a lower-quality recording.
Limited editing capabilities.
The screen recorder does not provide extensive tools for tweaking your videos. If you need to enhance your recordings, you will need to use external video editing software.
For more information, read this article about recording a Microsoft Teams meeting. But what if you don’t meet some requirements above, or simply need more recording options? Just try the alternatives we’ve hand-picked for you. Let’s see which of the following 5 desktop and mobile programs will suit you best.
How to Record Microsoft Teams Meetings on PC
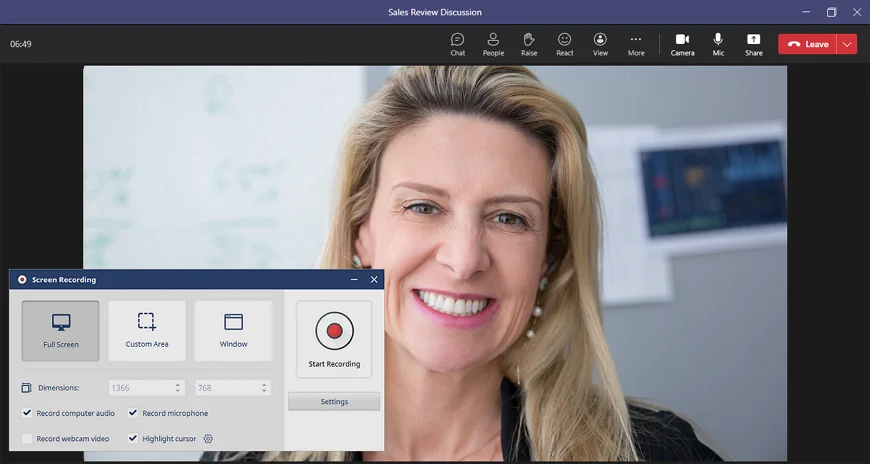
On Windows, you can record an online meeting using Clipify, a free automatic video editor. It lets you record the full screen, a custom area, or a selected window along with a webcam feed and microphone audio, providing flexibility and customization. With Clipify, you can instantly edit your recordings: cut out unwanted parts of a video, mute selected segments, enhance the quality, and more in just a couple of clicks.
Another good thing about Clipify is that it lets you save your recordings in high quality using popular formats and even create a video for YouTube, Vimeo, Facebook, and Instagram. Additionally, the interface of Clipify is user-friendly, so you don’t need any previous experience to work on your projects with the software. Now, it’s time to record your Teams video call with Clipify - just follow the simple steps below.
- Launch the software, create a new project, and click on Capture Screen Video.
- Change the recording settings: check or uncheck capturing webcam video, recording computer audio, using microphone, and highlighting cursor. Pick a recording mode and hit Start Recording - the session will begin after a countdown.
- Finish the session by clicking the Stop button. Once you stop recording, the video will be automatically added to the video editor’s timeline.
- Now click Create Video to save it in a desired file format - a web-optimized video for popular Internet platforms, a mobile video, an HD video, etc. Adjust the frame size, quality, and file size if necessary.
Once your Teams meeting is captured, you can completely upgrade your video using Clipify! For example, the volume in your video might be of low quality due to a poor Internet connection or a faulty mic of a speaker. But there’s no problem with it - you can easily fix the sound and increase the video volume.
If you need to add your comments or notes, you can use text captions and stickers. To skip awkward silence, you might want to change the speed of a video or of its separate segments. You can also cut sections out of a video and only keep the essential parts of the recording that you’re going to use later on.
How to Record on Teams on Mac
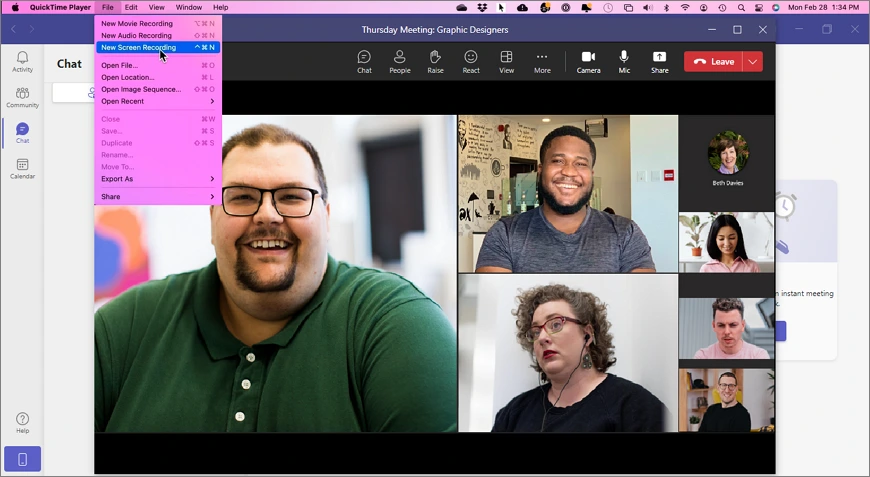
As a Mac user, you can try QuickTime Player for recording Teams meetings. It’s mainly used to play various audio and video file formats, but the program supports streaming and recording capabilities as well. Here, you can record the entire screen or select specific areas to capture.
While QuickTime Player does offer basic editing features for minor adjustments, it lacks some essential advanced editing tools. So you might need external video editing software to enhance your Teams video recordings. Another drawback is the lack of advanced options such as webcam overlay or system audio recording, which some users may desire. If you’re happy with the functionality of QuickTime Player, read the instructions below to record your next meeting.
- Click File and select New Screen Recording. Then hit Record to start recording.
- When you’re done, click on the stop button.
- Navigate to File, click Save, and name the new video.
 Clip
Clip