How to Change the Speed of a Video in a Jiff
There are many reasons why you may want to change the video speed. Maybe you've filmed a how-to video for YouTube and want your viewers to focus on the details. Or you just want to shorten the overall run time of a video due to video length limits on Instagram. Whatever the reason, your movies could benefit from speed effects as proper timing and pace can help you bring your clip to a whole new level. In this article, we’ll tell you how to change video speed in a couple of clicks. You don't even need to have any editing skills in order to do that.
We’ll show you how to edit the speed of the whole video as well as some parts of it using Clipify. This fully-featured automatic video editing software offers a set of different playback speeds to choose from. Moreover, you can download it absolutely free. We will also share with you 5 alternative video speed editors you can use to complete the task. Ready? Let’s get started!
How to Change Video Speed Step by Step
The process will take less than 2 minutes. Ready to start? Follow the guide below and see what you can do with Clipify.
- Run Clipify. Click Add Videos and Photos to choose your clip and add it to the timeline.
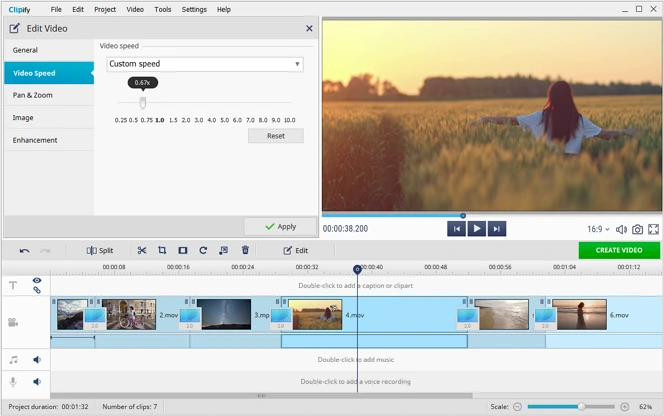
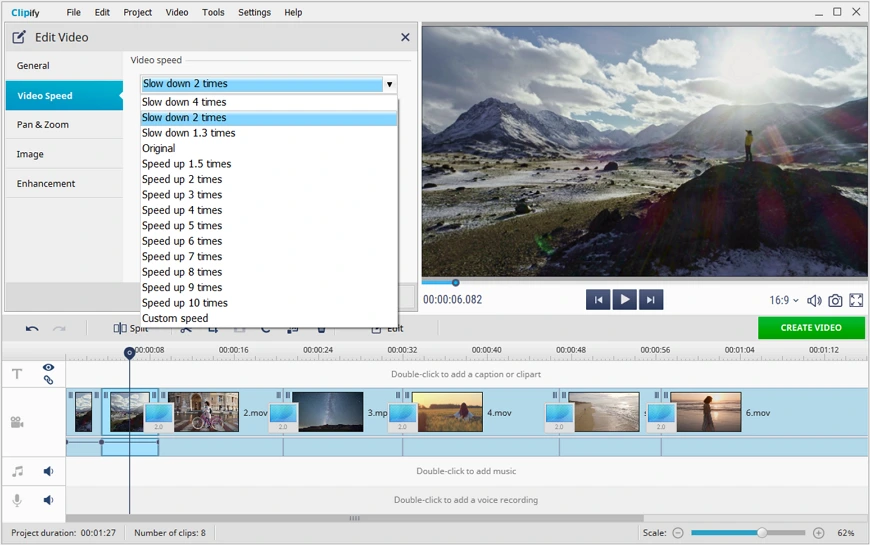
- Open the speed settings. Switch to the Video Speed tab to get access to multiple speed changing options.
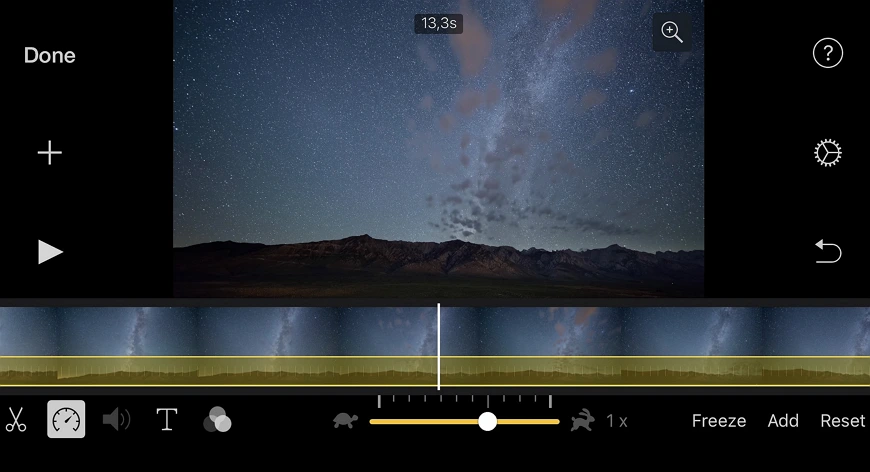
- Change the video speed. In the drop-down menu, select the option you need. If you choose 3x, your video will be 3 times faster. Select 0,5x to make it slower 2 times. You can also edit the video speed by moving the slider to the left or to the right. Apply the changes and save your video.
Now you know how to edit the speed of a video. But this way is suitable when you need to edit the whole clip. Need to edit a particular piece of it? Then you should use another method. Let’s take a closer look at it with the detailed guide below.
Step 1. Open Your Clip
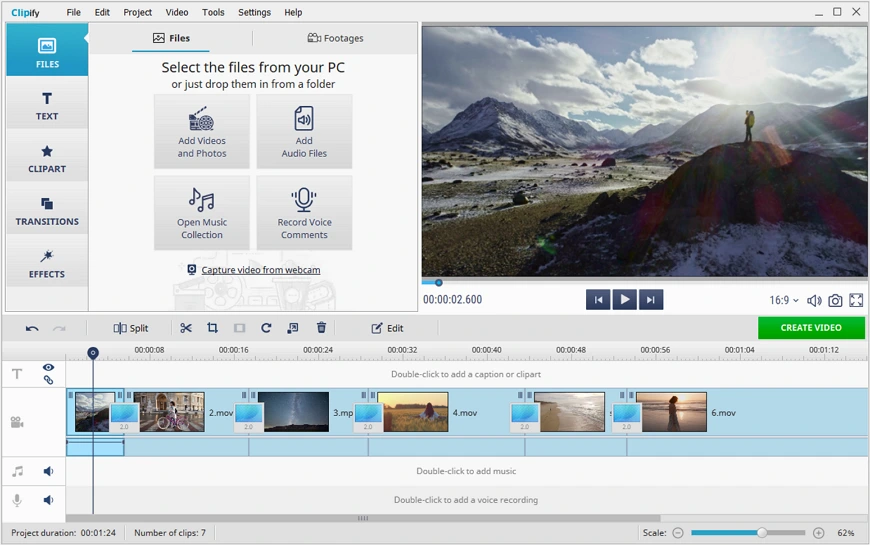
As you’re running the video speed changer, upload your files by clicking the Add Videos and Photos button or simply drag and drop them onto the timeline.
Step 2. Split Your Video
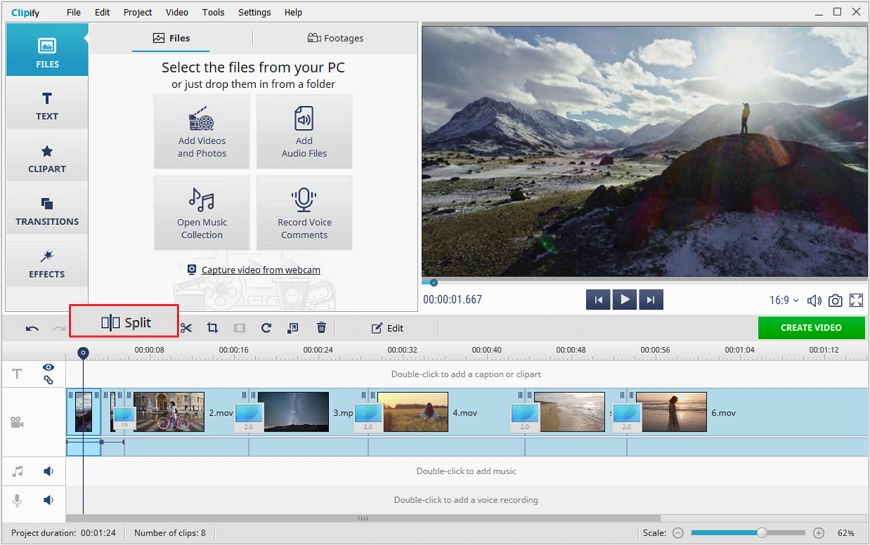
Now move the cursor to the beginning of the part you want to edit and click the Split icon on the toolbar. Next, you need to move the cursor to the end of this part and click the same icon. That’s it, now you have a separate video piece.
Step 3. Change Your Video Speed
Choose the video piece you want to edit and click on it. Hit the Edit button on the toolbar above the timeline. Next, switch to the Video Speed tab. There, you can change video speed by either moving the speed slider or choosing one of the preset options from the dropdown list. Preview the result by clicking the Play button below the clip to make sure you have achieved the right pace. If you’re satisfied with the result, click Apply.
Step 4. Export Your Video
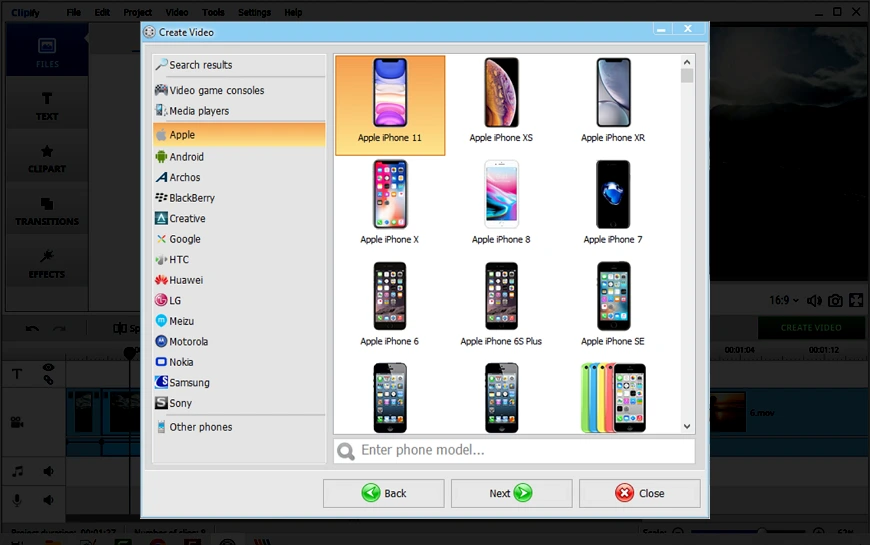
Once you’ve finished editing, click Create Video and choose the export option. Save your video for watching on a PC or burn it to a DVD player. Want to post your clip on social media? Just pick the Create video for the Internet option and share it with your friends.
As you can see, Clipify is an easy video editing program that can change video speed. But that’s not all you can do with the software! Had to film your clip in poor lighting conditions? With Clipify you can easily make a video brighter. There are also different tools that help change the aspect ratio of a video to make it suitable for watching on various devices without black bars. If you feel that your clip is not complete, just overlay a picture on a video and make it interesting with the help of different embellishments.
 Clip
Clip