For Windows 11, 10, 8, 7
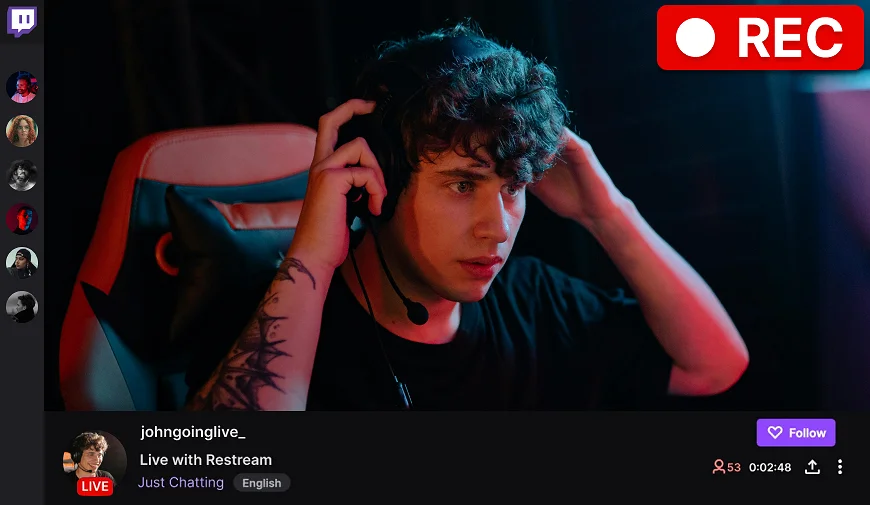
How to Record a Stream on Twitch with Ease
Twitch has become a go-to platform for live streaming, especially among gamers. Unfortunately, not all streams are available to watch once they're over unless the streamer has Video on Demand enabled. So, knowing how to record streams can be quite useful. For viewers, it’s a way to catch up on content they couldn’t watch in real-time. For streamers, it’s a way to save their broadcasts for repurposing — creating highlights, sharing across other platforms, etc.
Here, we'll show you how to broadcast your streams directly on Twitch and record someone else's using third-party programs. Whether you're on PC, Mac, or mobile, you’ll find the right Twitch stream recorder for your needs. You’ll also get answers to some common questions, such as "Does Twitch record streams automatically?" and more.
How to Record Your Twitch Streams Using VOD
Want to save your live content for future viewing or to create short clips from it without using third-party recorders? As a streamer, you can use Twitch Video on Demand (VOD) – a built-in option that lets you stream and record at the same time automatically. But keep in mind that VODs are public by default, so everyone can access and rewatch your streams. Here’s how you can turn on this feature in Twitch stream settings:
- Open Twitch and sign into your account.
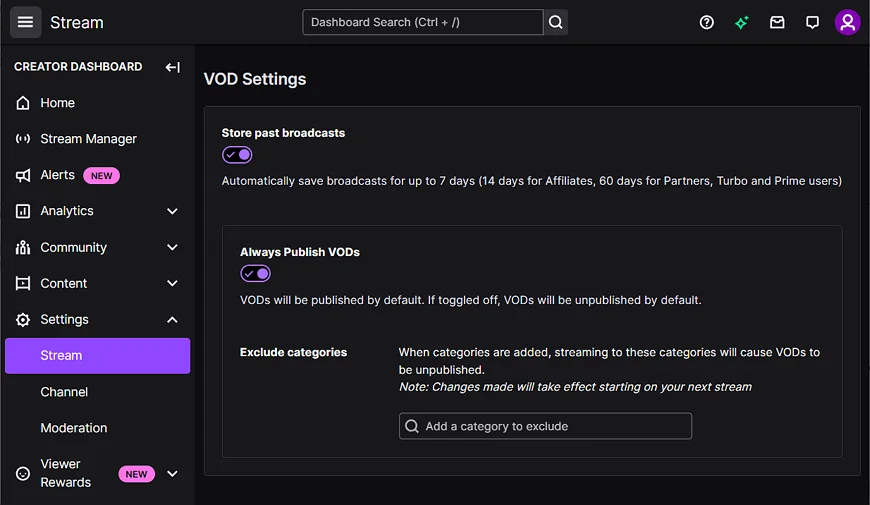
- Click on your profile icon in the top right corner and open the Creator Dashboard, then navigate to Settings > Stream.
- Scroll down to find the VOD Settings section. Enable the Store past broadcasts option to let Twitch automatically save your streams for up to 7 days.
- Go live as usual. After your stream ends, go to your Creator Dashboard and click on Content > Video Producer to view and manage your Twitch VODs. Note that if you'd like to save your broadcasts for more than 7 days, you need to download them before the deadline.
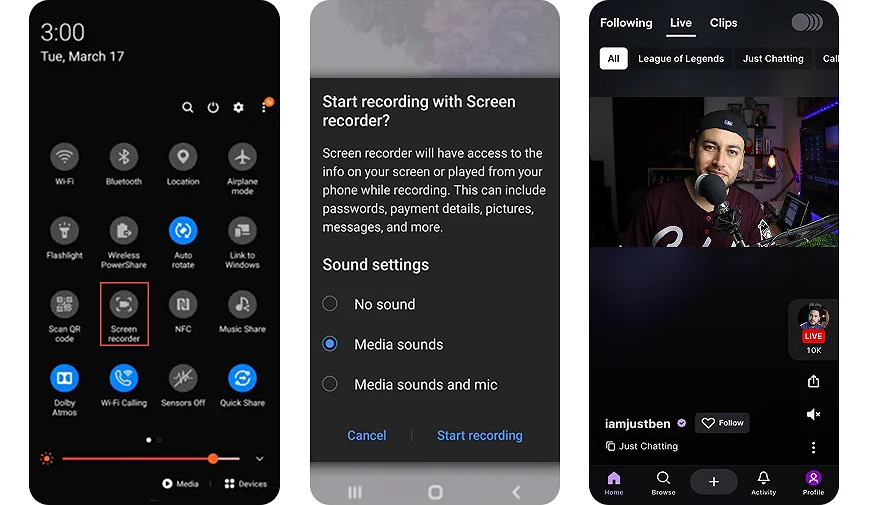
How to Record Someone Else's Twitch Stream
If you're a viewer and want to record someone else's stream, things get a little different. For instance, you can't use Twitch's built-in features. So, how can you screen record Twitch in this case? Well, all you need is the right third-party tool! This way, you can easily capture live broadcasts while not being a streamer. Let's dive into the options available.
How to Screen Record on Twitch on Windows
If you have a computer running Windows, opt for Clipify – all-in-one video editing software that’s super easy to use. With this Twitch recorder, you can capture live broadcasts in 1080p. If you’re a streamer, you can also record your screen and webcam feed at the same time without any hassle. Here’s how to use it:
- Install Clipify on your PC and open the program.
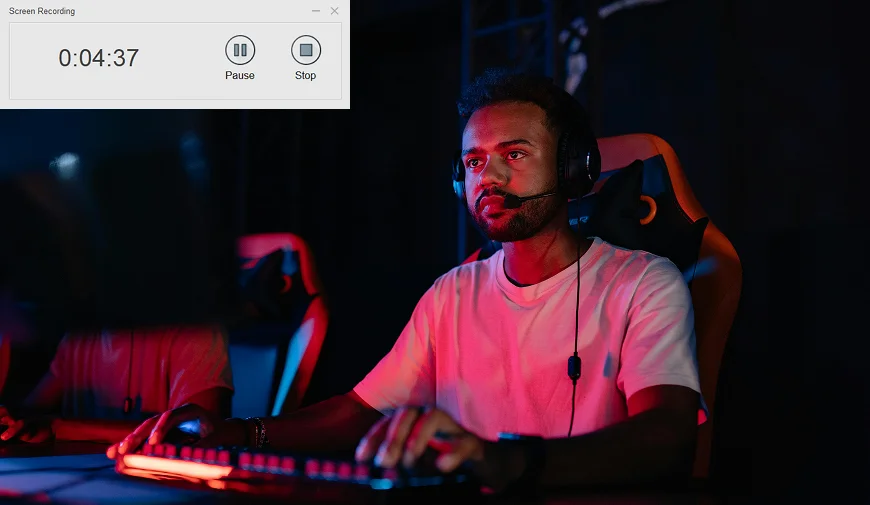
- Start a stream on Twitch as usual. In Clipify, select Screen Recording mode and choose the window where the stream is playing. You can also turn on webcam feed recording and capture your reaction simultaneously and create a PiP video afterward.
- Hit the Record button to start capturing. When you’re done, click Stop, and your recording will be saved in the software. There you can edit and rewatch Twitch streams or simply download them in your preferred format.
Not only is Clipify perfect for recording high-quality streams on Twitch in real-time, but you can also edit your MP4 videos afterward. This means you can enhance footage quality, apply 150+ effects, add text captions, or even overlay video on video to show your reaction as you stream. You can also dim the sound in some parts or mute it and then add music from a library of over 500 royalty-free tracks. Or just cut out unnecessary parts of your footage to make a highlight video of your best Twitch moments.
How to Record on Twitch on Mac
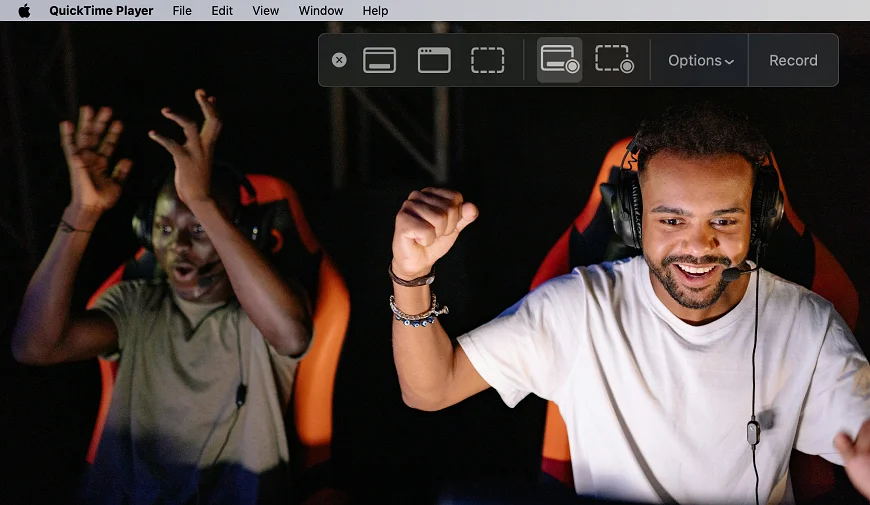
If you're on a Mac, you can use QuickTime Player as a Twitch recording software. It's a simple and effective tool that comes pre-installed on macOS, so no extra downloads needed. Although it doesn't have as many editing features as the previous software, it's a solid choice for quick live capture. Here’s how you can record Twitch streams with QuickTime:
- Find QuickTime Player on your Mac and open it.
- In the top menu, click on File and select New Screen Recording.
- Choose to record the entire screen or select a specific area where the Twitch stream is on.
- Click Record to start. Once you’re done, click the Stop Recording button in the menu bar to save your recording as a file on your Mac.