How to Record a Video Conference – an Easy Guide
Conference calls are a very popular and effective form of communication in education and business. They do have a wealth of benefits, but still cannot guarantee that some critical info or ideas will not slip though the cracks. However, that issue is easy to deal with – you can simply make video conference recordings to preserve every bit of information.
To capture a video call, all you require is a specialized program and a simple step-by-step guide. Here, you will learn how to record a video conference using Clipify – a free video editor for PC with a suite of recording tools, and also discover a few other apps. Here are a handful of conferencing platforms that you can capture:
- Google Meet
- Webex
- Teams
- Skype
- Zoom
And the list goes on – you can easily record video conference calls hosted on almost any platform out there.
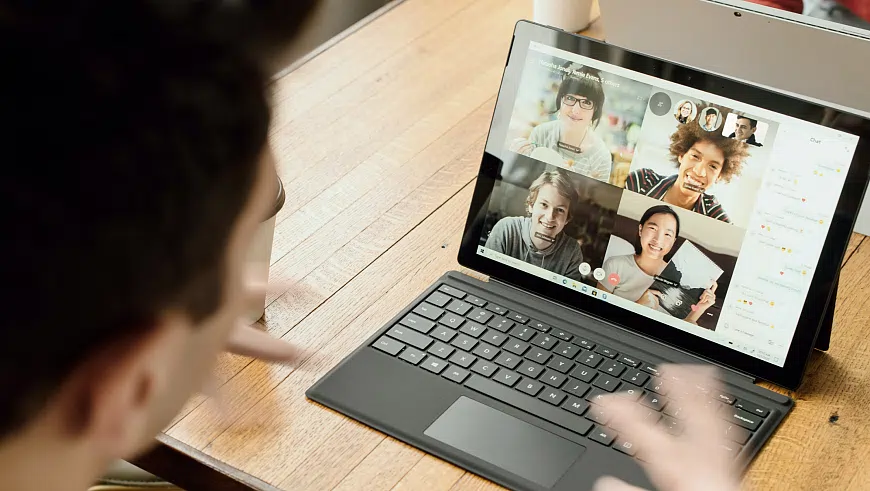
Already preparing for the next online call? Then let’s get down to the nitty-gritty and make a video conferencing recording!
How to Record Video Conference on PC
If you're in search of a hassle-free solution to capture video calls on your PC, look no further than Clipify. This free automatic video editor offers an array of features that allow you to effortlessly record your screen, mic, and webcam, both individually and simultaneously. You can also edit your footage right away – add captions and graphics, cut out unneeded parts, record voice comments, and more. Here's how to use Clipify for recording video conference calls:
Step 1. Install and Launch Clipify
Click the button below to download the installation file. Once the download is complete, run the file and follow the installation wizard prompts. Then, launch the program.
Step 2. Go to the Recording Mode
On the startup screen of Clipify, create a new project. By default, the Files tab will open. There, select Capture screen video.
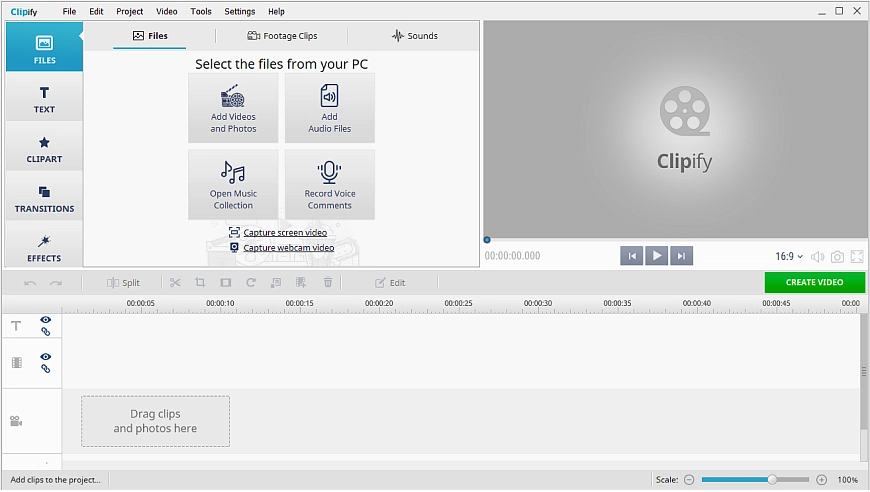
Step 3. Prepare for Capturing
In the new window that appears, choose the recording type that suits your needs – Full Screen, Window, or Custom Area. If you want to capture your microphone and webcam along with the screen video, check the corresponding boxes.
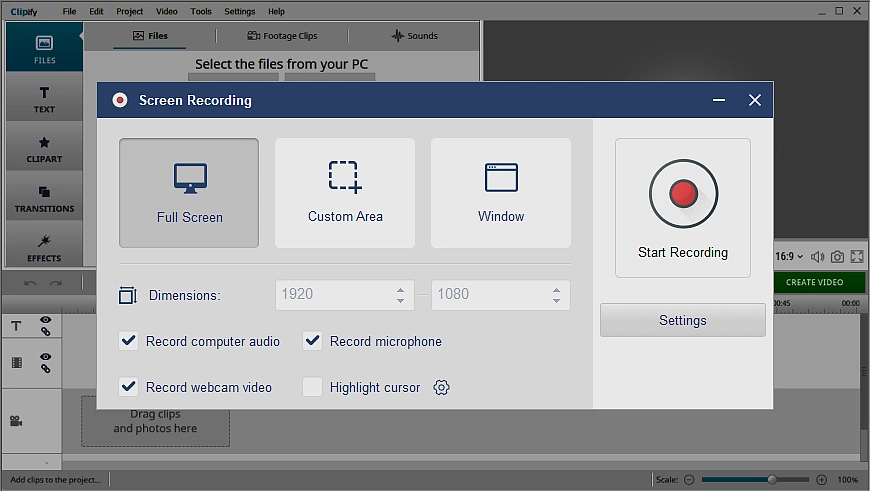
Step 4. Record the Video Conference
To begin recording, click the Start Recording button. During the recording, you can use the Pause button to temporarily pause and the Stop button to conclude the recording.
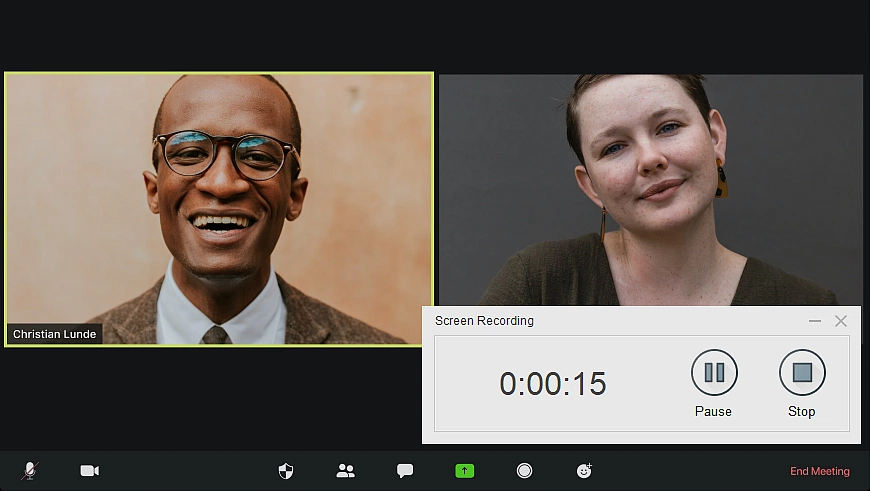
Step 5. Export Your Video
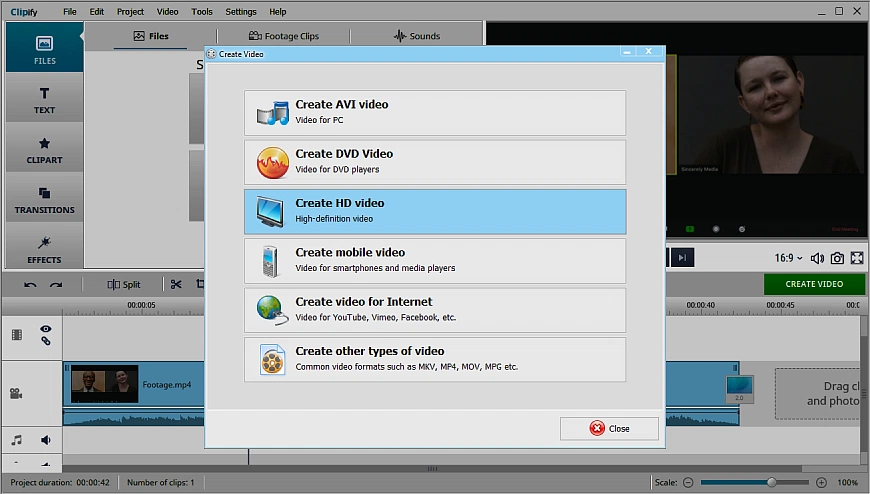
Click the Create Video button to export your video conference. You can choose the format and settings that best suit your needs. Then click the Export button to save your work. Done!
Once you know the method of recording video conferences, why not go one step further? With Clipify, you can turn the footage into an engaging video with a few easy editing tricks! Cut parts out of a video to make it shorter and more dynamic. Slow down certain parts of a video that have too much going on. Change the background of a video to blend your webcam footage in. Put stickers on a video to highlight certain details. And that’s only a part of what you can do!
If you find Clipify intriguing and want to see it in action, we have a short video demonstration for you to watch right here:
Whether you are a beginner looking to get started with video recording or an experienced user seeking advanced editing options, Clipify has the tools to meet your needs!
 Clip
Clip
