How to Slow Down Videos in Mere Minutes
Some moments caught on camera are definitely worth more attention. So making your video slower is one of the best ways to draw your viewers’ eyes to the important parts of your movie. You can perform this task in a few clicks with a handy video editor. But which one to choose?
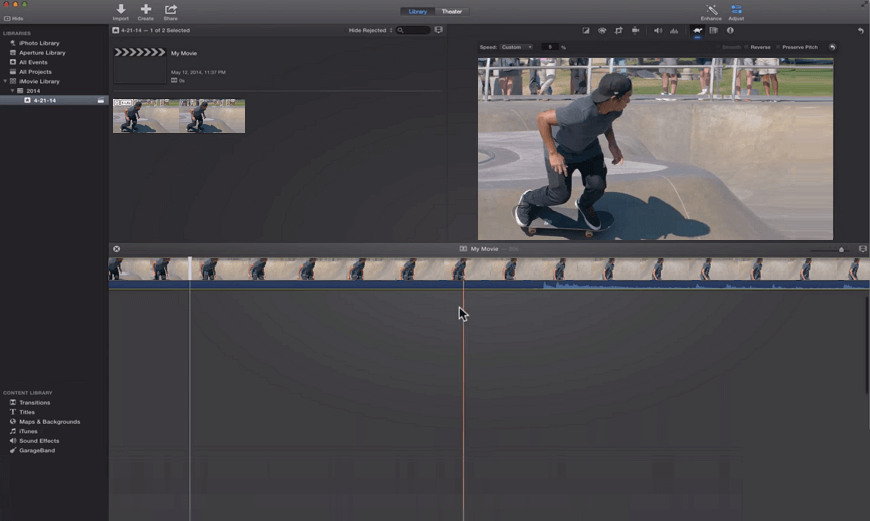
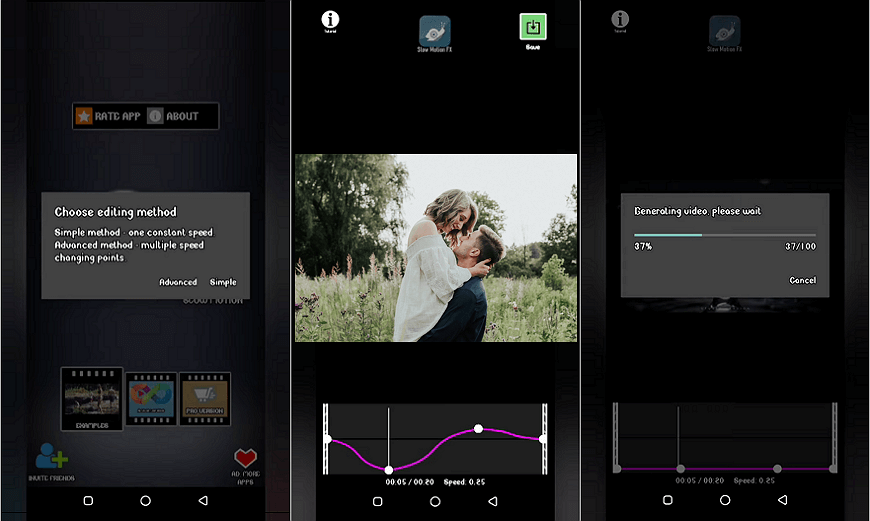
Yes, we know, there are so many video editing tools, so it can be a challenging task to pick the right one. No worries! We’ve done the research for you and are ready to tell you about 6 best ways to make your movie slower in 2025. Keep reading this guide and you’ll discover paid and free tools for PC, Mac, iPhone and Android. Moreover, you’ll learn how to slow down a video or some certain parts of it in mere clicks.
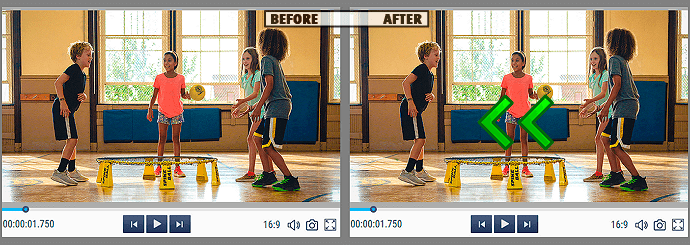
Way 1. How to Make a Video Slower with Clipify
Clipify is a free automatic video editor for PC. The software can help you enhance your videos in a click. You can cut, glue, crop or trim your footages in a couple of minutes. What’s more, slowing down a video isn’t a challenging task with Clipify as well. In our tutorial, you’ll find out how to make the whole movie slower, then you’ll learn to perform the task with any part of your footage. Let’s dive in!
- Run Clipify. Download this free video editing software, follow the wizard to install and open it.
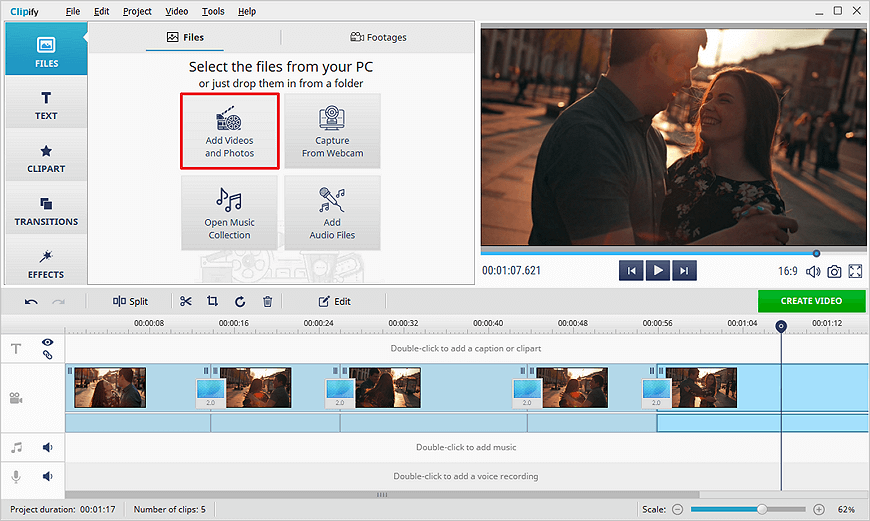
- Open your video file. Click Open Videos and Photos and pick the file you need, and add it to the timeline
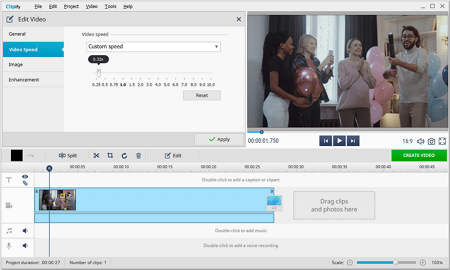
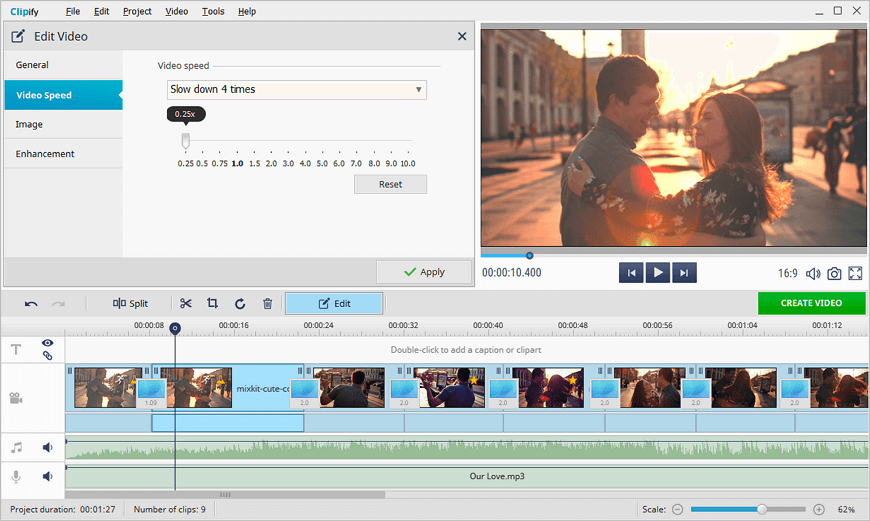
- Make the video slower. Click the Edit button and choose Video Speed. Now pick a speed option from the dropdown menu or drag the slider below and you’re done!
In most cases you need to slow down not the whole video, but a certain part of it. This way you can easily draw your viewers’ eyes to special moments of your movie. So let’s learn how to slow down a part of a video with the help of Clipify.
Step 1. Open Your Video with the Editor
Click Open Videos and Photos, choose the video you need, and add it to the timeline.
Step 2. Split Your Video Into Several Parts
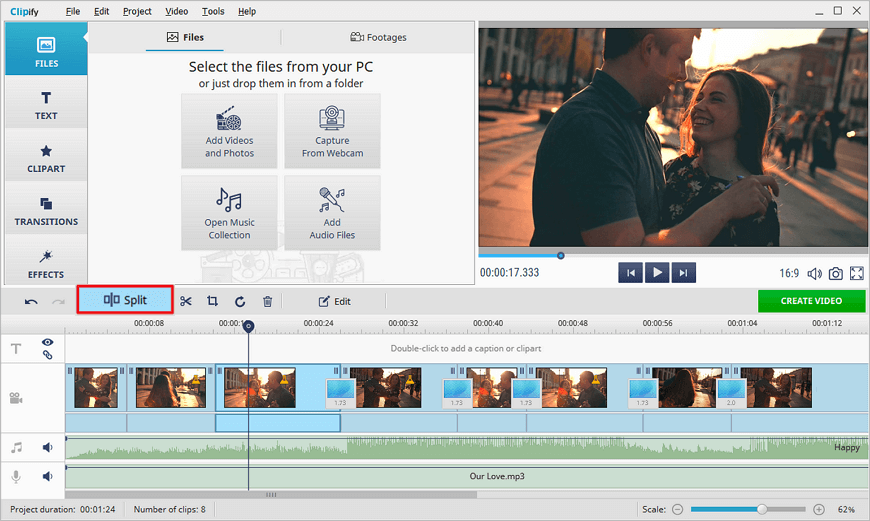
Move the cursor to the start of the video section you want to make slower. Click Split on the toolbar to separate this part from the rest of your footage. Now move the cursor to the end of the video section that you want to slow down and separate it too.
Step 3. Slow Down Certain Parts of the Video
Select the piece of the footage you want to make slower and click Edit. Then switch to the Video Speed tab. Now you can make your video slower in two ways: choose a speed option from the dropdown list or use the speed slider below.
Step 4. Export Your Edited Movie
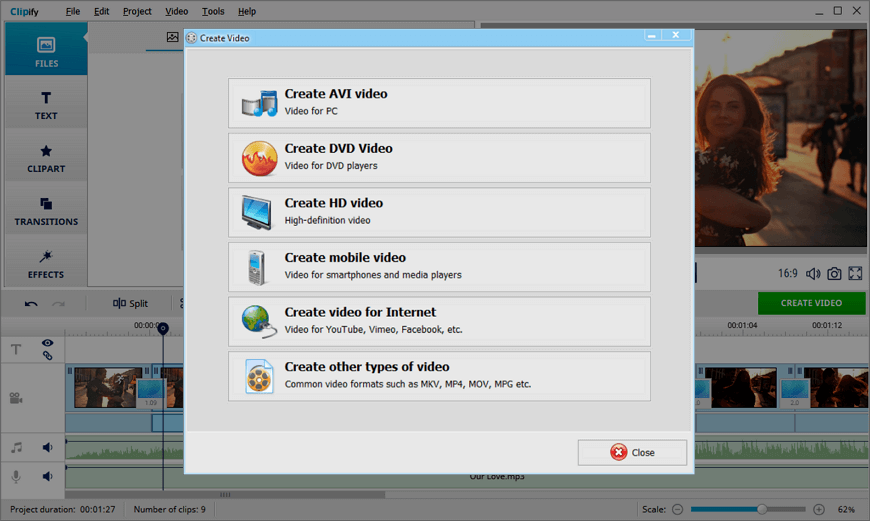
Your slowed video will play back more smoothly. If you like the result, click Create Video and choose the export option that suits you best: an AVI or a DVD file or a video for TV or Internet.
Now you know how to slow down videos with Clipify, but this powerful editor is capable of much more! The program offers you a rich toolkit to enhance your videos. You can employ Clipify to color correct a video and perfect it in mere minutes. Add text to a video and make your short film speak for you. Brighten dark videos to improve the footage taken in poor lighting conditions. If you want to fine-tune your movie further, apply eye-catching effects and filters.
Prefer video tutorials? Then watch this guide and learn all the essential features of Clipify, the free automatic video editor:
Clipify looks like handy software to slow down a video? Then, don’t hesitate and give it a go! Download this video editor for free and make your videos slower in a few clicks.
Install Clipify on your computer, follow the steps of our tutorial and edit your videos in no time.
Way 2. Slow Down a Video with Adobe Premiere Pro
Adobe Premiere Pro is one of the most famous video editing software. The program allows you to work with a variety of video formats. The software can help you add animations and special effects to your clip. If you’ve already purchased an expensive subscription, you can use this program as a slow down video editor as well.
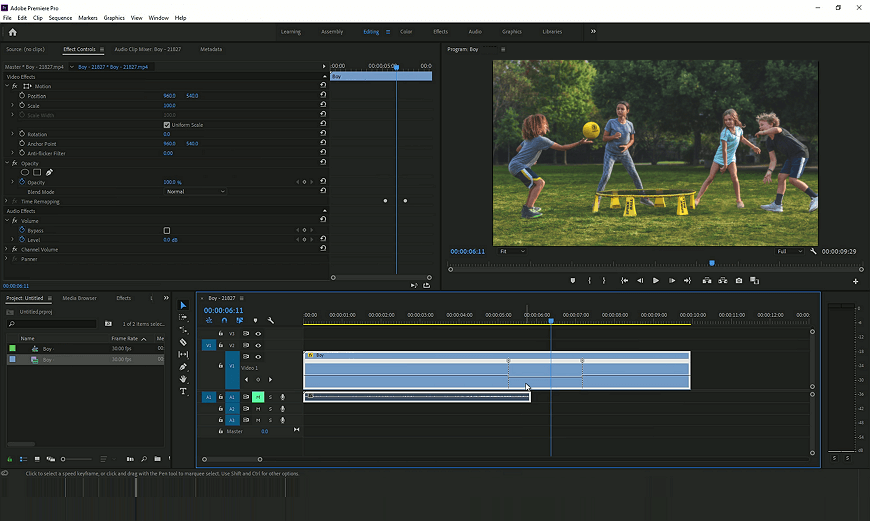
- Find the necessary tool In the Project or Timeline panel select the video you need. Right-click the selected video and choose Show Clip Keyframes > Time Remapping > Speed. Keep moving the mouse pointer to the horizontal line in the middle of the clip. Then you’ll see a black arrowhead with a small vertical double-arrow next to it.
- Set the video speed Slightly drag the line downwards. You can control the percentage change with the tooltip. When you release the mouse, the clip length will automatically extend. Then press Command/Control - you’ll see the pointer turn white. Then add a time remapping keyframe and drag the line down to the right to decrease the speed of your footage.
- Save your video Now your video has been slowed down. If you like the result, save it. To do that, click File > Export > Media opt for the video format that suits you best and click Export. Alternatively, you can export your movie to your social media page. Click the Publish tab, log into the network you need and click Export. Done!
Want your viewers to slow down your videos by themselves? Just upload your normal speed movies to a hosting platform like Vimeo, YouTube or Wistia and that’s it. Now your audience can set the video playback speed to their liking.
Way 3. Make a Video Slower Online with Kapwing
If you wonder how to slow down a video online, there’s Kapwing for you. This is a platform that allows you to edit your videos for free. Once you’ve uploaded your clip to it, it will look much fuzzier that it actually is. But once you export your edited movie the quality will be automatically restored. What’s more, there are no watermarks on the output files if you sign in to your Kapwing account. Otherwise there’ll be a small sign in the right bottom corner of your clip.
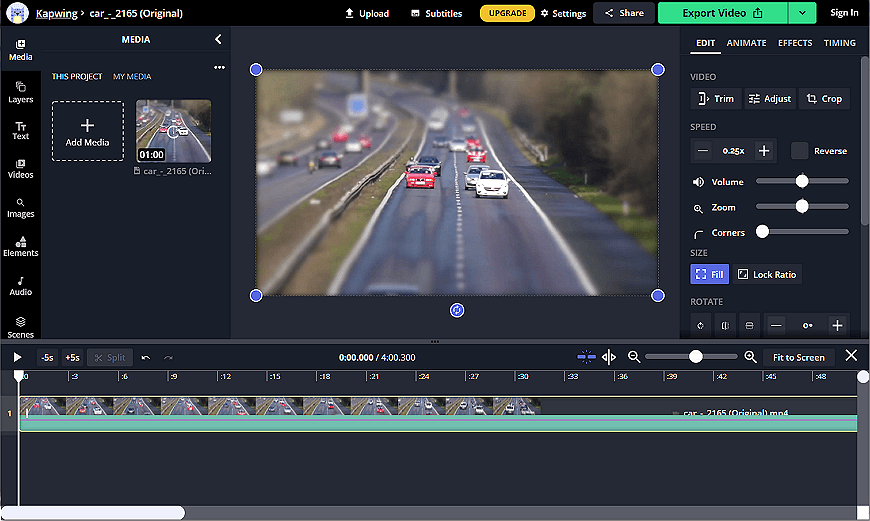
- Upload your movie to the website You can upload your video or GIF file to the platform or paste the link to the video from YouTube, TikTok or other web sources.
- Choose the video speed Use the sidebar to change the speed of your file. Click the Minus sign to make the video slower. You can reduce the playback speed to 0,75x or 0,5x.
- Export your movie Like the slowed video? Then click Export and choose the destination folder for your movie. Kapwing allows its users to share the result video or the link to it on social media.
 Clip
Clip