How to Edit MKV Files - 6 Ways to Perfect Your Video
MKV, also known as Matroska Video File, is a flexible multimedia container file. Unlike MOV, MPEG, and AVI video formats, it can hold an unlimited number of audio, images, and subtitle tracks and has a substantially bigger storage capacity. Despite the great possibilities of the MKV files, not all video editors enable playing back and editing videos of this format. This puts a new responsibility on your shoulders - finding the right software for the task. The good news is that we have found such a program for you. This MKV editor called Clipify, and it's free.
In this article, we'll give you detailed instructions on 6 ways of how to edit MKV video files using Clipify, a feature-packed video editing program for people of all skill levels. We'll also make you acquainted with alternative editors available on Windows, Mac, and Linux.

Download Clipify and follow the concise but comprehensive tutorial below to edit your MKV videos in the first go.
So let's now take a look at several ways of how you can enhance your video during post-production in Clipify.
Way 1. Give Your MKV Video Files an Instant Glow-Up
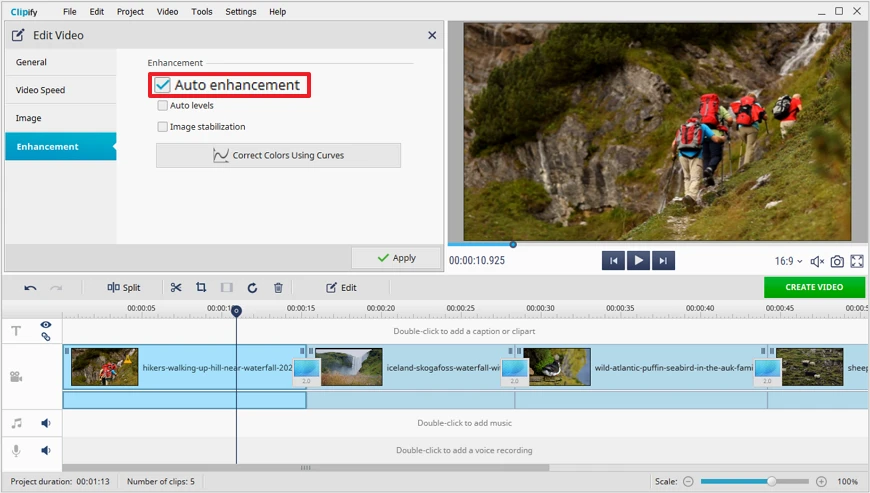
Imagine being able to enhance an entire video - color correct it, balance saturation, fix highlights, and improve its other key parameters - in just one click. Well, you can do that with Clipify’s Auto Enhancement feature. With its help, you can polish all kinds of videos, even those shot with your smartphone camera. The tool automatically boosts the lighting and contrast of your video and deepens its tones. Let's have a look at how this works in practice.
- Launch Clipify. Run the MKV video editor after its installation on your PC.
- Upload your video. Create a Blank Project. Hit the Add Videos and Photos button on the Files tab and select your MKV footage from a folder on your computer or drag and drop it onto the timeline.
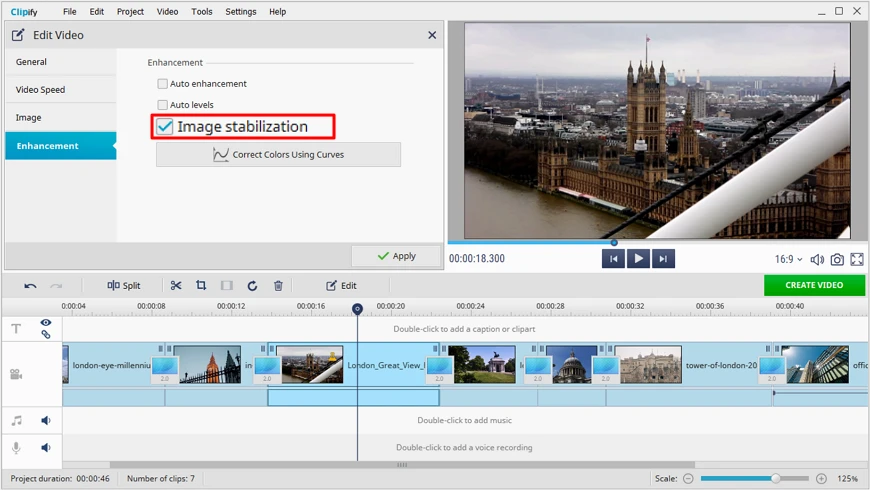
- Apply Auto Enhancement. On the toolbar above the timeline, select Edit. Then tick the Auto Enhancement checkbox on the Enhancement tab. That’s it!
Way 2. Cut and Glue Your MKV Clips
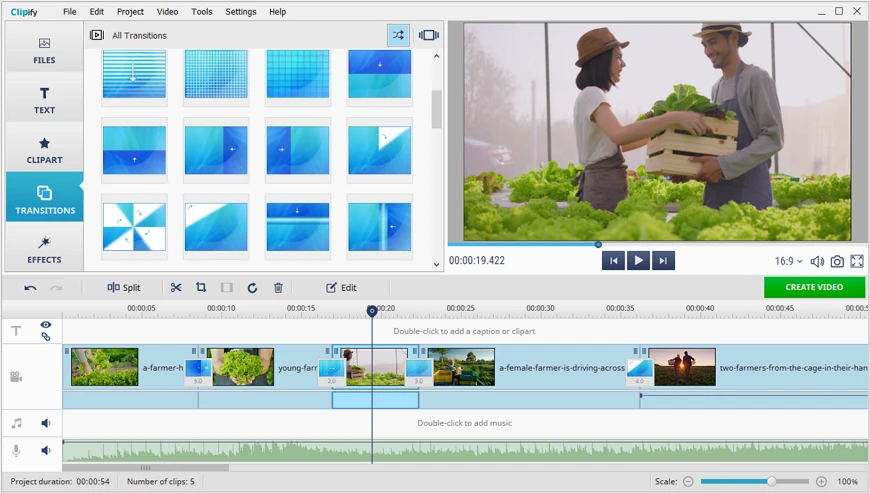
Clipify allows you to alter the length of your footage with minimum effort, split it into fragments, cut out parts of your video, or add new ones. Besides, using this MKV editor, you can crop your video to achieve the best frame or eliminate black bars around the edges. Let's take a closer look at the steps below to learn more about the process of trimming and stitching clips.
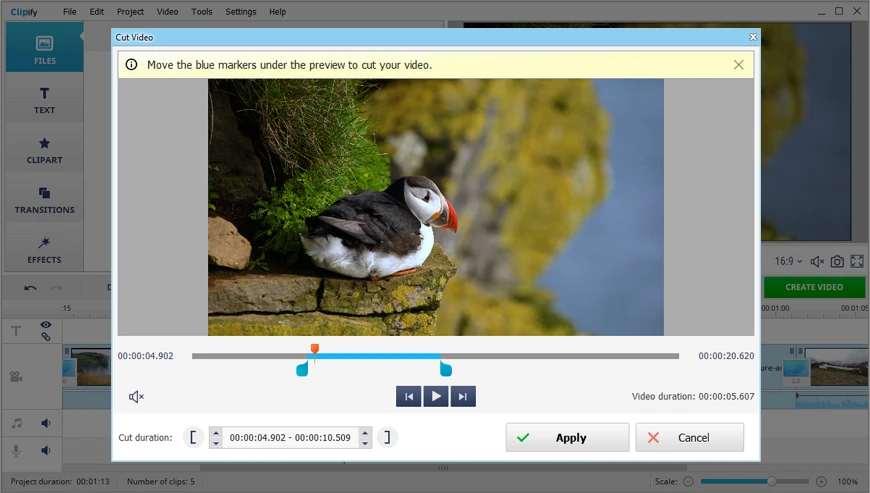
- Trim your footage. Select one of your clips on the timeline and pick the scissors tool from the toolbar. In the overlay menu, designate the area you want to save using the blue markers. Then click Apply to eliminate the remaining video fragments.
- Split the clip into parts. On the timeline, drag the play head to the desired point and use the Split tool to divide the footage into separate fragments. You can delete an unwanted clip by selecting it on the timeline and clicking the trashcan icon on the toolbar.
- Crop your video. Click the Crop icon on the toolbar after selecting the video segment you wish to crop. In the appearing window, adjust the frame manually to focus on what’s important in your clip or remove the black bars around its borders.
 Clip
Clip