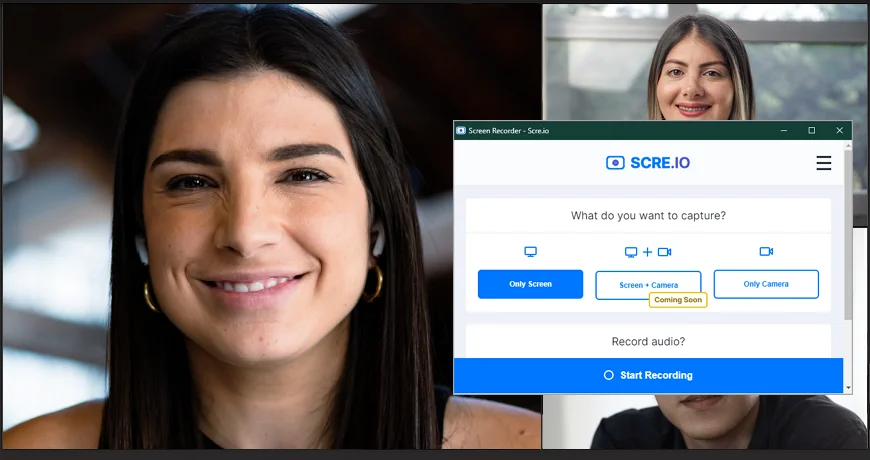
How to Record a Webinar: Hassle-Free Way
Want to revisit a crucial webinar, save key moments of a virtual event, or share your own educational videos with others? That's where the power of recording comes into play. Having reliable screen recording software is key to saving valuable info in high quality.
In this article, you’ll learn how to record a live webinar, no matter if you're the host or an attendee. We’ll guide you through the entire recording process in an automatic video editor for beginners and experienced users - Сlipify. We will also talk about other easy methods to record webinars, including desktop programs, browser extensions, and a mobile screen recorder.
These are some popular platforms where you might want to capture a meeting with the webinar recording tools we are going to discuss:
- Zoom
- Teams
- Discord
- Livestorm
- Google Meet
Webinars hosted on these or other platforms can be captured with no problem using the screen recording technique described below.
Eager to try an effective screen capturing method yourself? Then let’s figure out the best way to record a webinar right now.
How to Record a Webinar on Your Computer
Webinars are typically carried out and viewed on a computer, so let’s begin with desktop webinar recording software - Clipify. This is a user-friendly video editor featuring a screen-capturing tool. Its advanced recording settings give you maximum customization: you can record the desired area of the screen, the webcam video, and microphone audio at once or separately. After ending a session, you can instantly edit the recording - mute parts of a webinar, delete unwanted segments, add your notes via text captions or voice comments, and more.
So, how do you record a webinar on a PC? Just follow the simple steps below, and you’ll capture virtual events without a hitch:
Step 1. Download the Program
For starters, get yourself the video editing software. Hit the button below to download the installation file for free and follow the wizard’s instructions. Then launch Clipify.
Step 2. Adjust the Screen Recorder
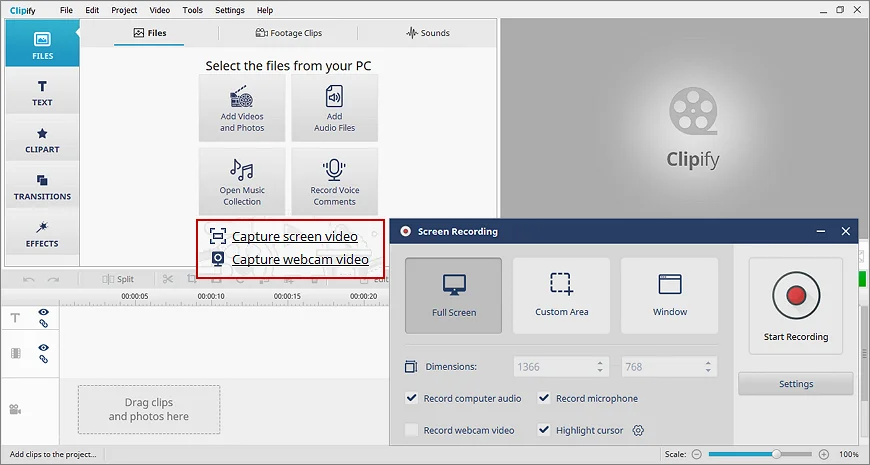
Create a new project, click on Capture Screen Video, and adjust the screen-capturing settings. First, select one of the modes: Full Screen, Custom Area, or Window. Now, check the boxes if you want to record the microphone and computer audio, webcam footage, and cursor movements as well. For more customization options, click Settings.
Step 3. Record the Webinar
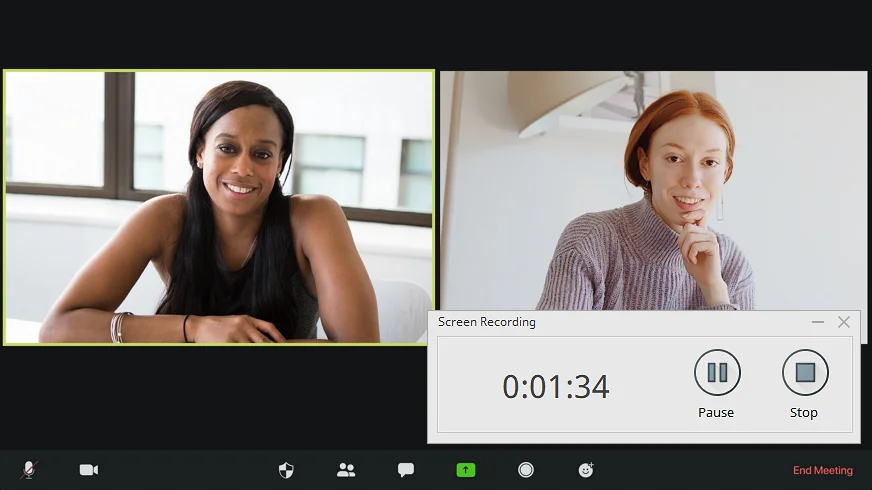
Hit the Start Recording button to begin the session. Use the recording controls to pause or resume the screencasting process.
Step 4. Save Your Recording
Once the webinar is over, hit the Stop button to end the recording session. Finally, click Create Video to export the video in the desired format.
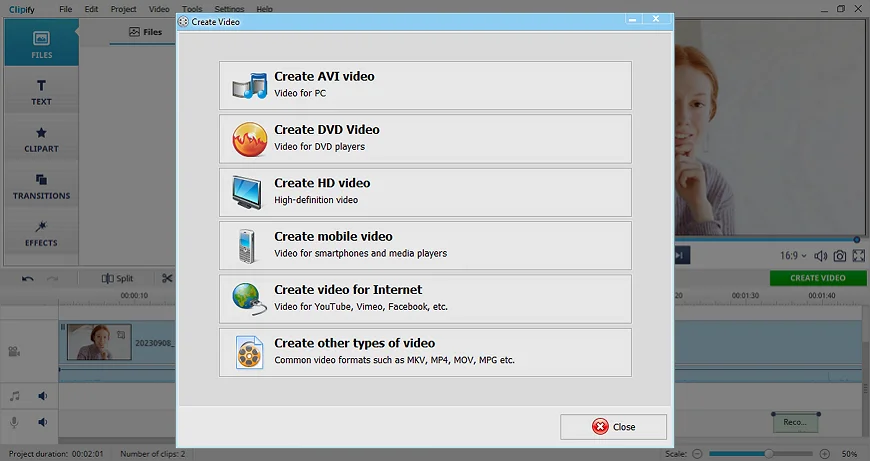
This is how you can effortlessly record a webinar with Clipify. Once it’s done, don't hesitate to use other features to perfect your recordings. For example, the program lets you instantly enhance the quality of a video with an automatic tool, the Color Curves feature, and over 150 one-click filters. Besides, you can take your videos to a new level using Chroma Key for background replacement and PiP or Pan & Zoom effects for making the footage more dynamic.
Clipify will also help you cut certain parts of a video if there are segments of a webinar you don’t need. To make further sharing easier for you, you can turn a vertical video into horizontal for viewing it on a computer, or rotate a recording from horizontal to vertical for posting it on social media. You might want to add your logo to a video as well to protect your webinar recording from unauthorized use. You can also add some notes and stickers to highlight key information.
 Clip
Clip