How to Convert a Vertical Video to Horizontal:
a Comprehensible Guide
Are you an active Instagram user or someone who enjoys videography? Then the first thing you do when you come across a remarkable scene is reach for your smartphone and start recording. In an urge, you might forget to switch the orientation of your gadget and start recording vertically. If you decide to rewatch such a video on a horizontal screen or share it on YouTube, you will see the distracting black lines framing it.
Don’t want to put up with the annoying black bar effect while screening your vertical video? You won’t have to. In this tutorial, you will find out how to make a vertical video horizontal with minimum effort and time.

We will be using Clipify, an automatic video editor you can get for free. It is perfect for users with any skill set since it features all the basic tools for video post-production. What's more, it has a few professional features experienced videographers would appreciate - the Curves, Chroma Key, and Video Stabilization.
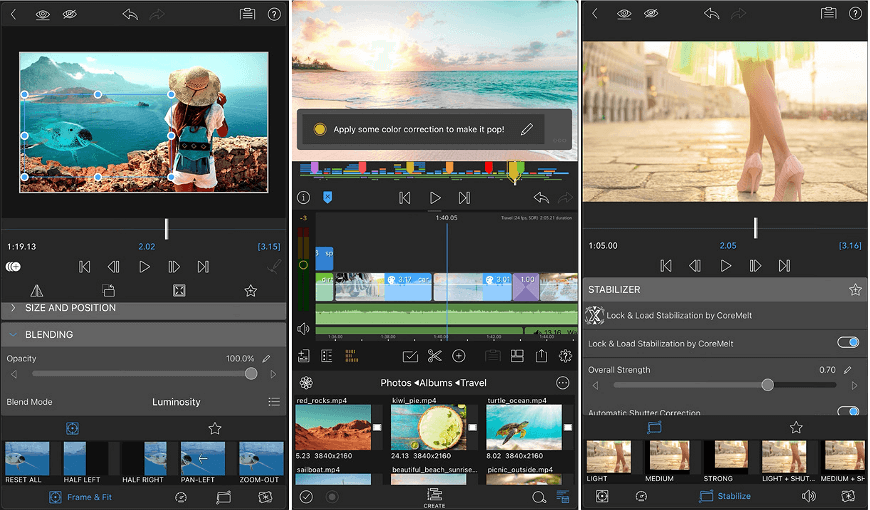
You will also discover alternative methods to flip your vertical video to horizontal for Mac, Android, and iOS. We have options for both newbies and professionals. Let’s begin.
How to Turn Vertical Videos to Horizontal in 4 Steps
You might think that if you record a video vertically, there is no way to change its orientation other than reshoot it. However, you never get a chance to capture a unique moment on camera twice. Either way, you won’t have to worry much if you use Clipify. With this editor, you can convert a vertical video into a horizontal one in just a few simple steps. Have a glance at them:
Step 1. Get Started with Clipify
Load the free video editor by clicking the button below. Then, follow the lead of the installation wizard to unpack and start the program on your PC.
Step 2. Import Your Video Clip
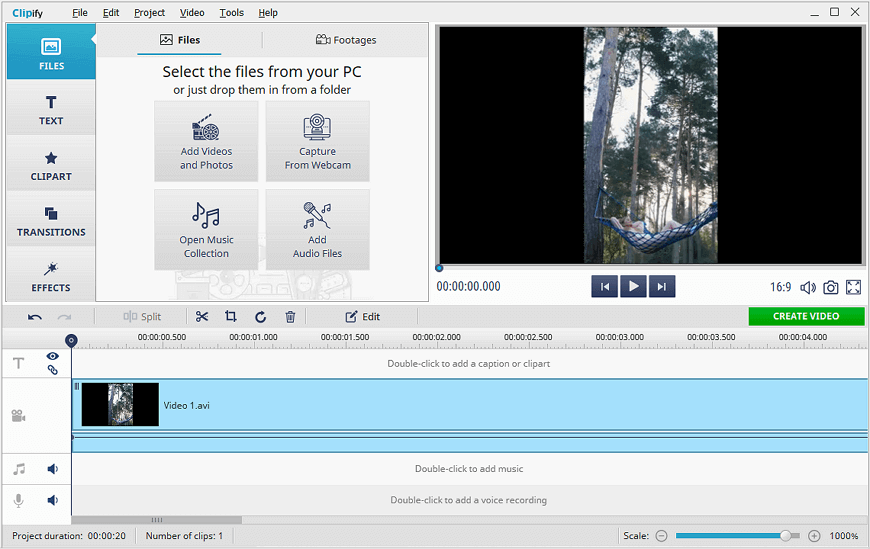
Once on the startup screen of the program, choose New Project > Blank Project. Stay on Files and choose Add Videos and Photos to open your vertical clip in the software.

Step 3. Turn a Vertical Video Into Horizontal
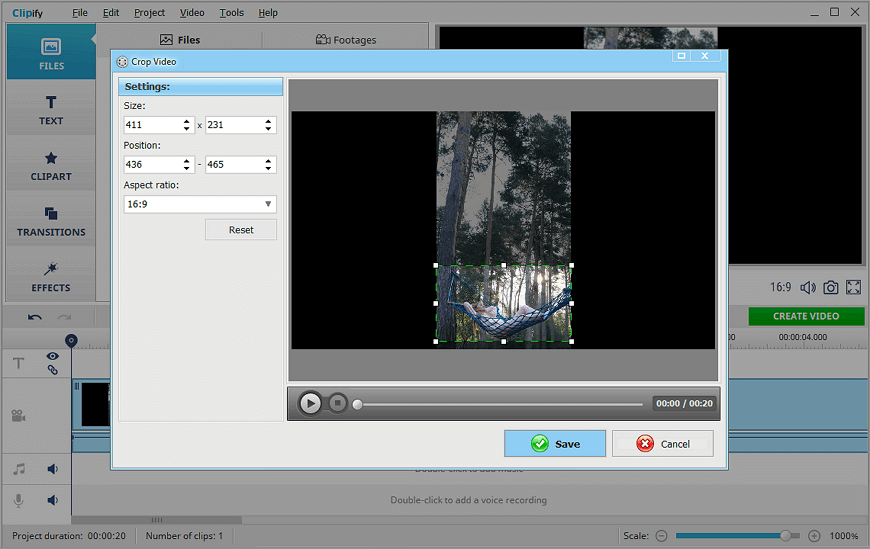
Hit the Crop button on the toolbar. Pick 16x9 in the Aspect Ratio drop-down menu, and the ratio will change to a standard horizontal orientation. Cut the frame so that your video appears in the most favorable light. Hit Save to apply the changes.

Step 4. Save Your Edited Clip
Once you are satisfied with the result, go to the Create Video menu. Then, select the video format you want to save your clip in depending on whether you want to share it online or rewatch it on one of your devices: computer, TV set, mobile phone.

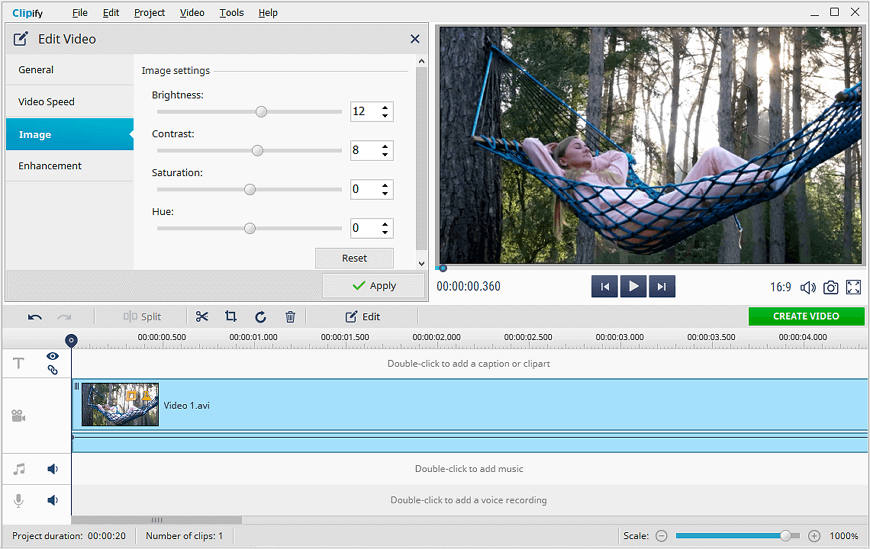
Reframing a clip will sometimes significantly impact its quality. However, you can easily fix that in Clipify. Just check out a quick tutorial on how to make the quality of a video better. You will find 15 ways to do that both manually and automatically.
Apart from the tasks mentioned above, Clipify can help you zoom in on a video to add more drama and make a clip more engaging, change its background to the one you like. You can also speed up certain parts of a video or slow them down to show the beauty of an action taking place. Finally, you can embellish your video with stickers and effects or accompany it with a soundtrack to turn it into a fun musical clip.
Watch a video review of Clipify to get an idea of what it’s like and learn more about its features:
Feel like Clipify is what you have been searching for? Get this powerful software and make your videos look spectacular today.
 Clip
Clip
