How to Capture Gameplay on PC: 5 Best Ways for Gamers and Streamers
Want to share your favorite moments in games but can’t decide what to use to record gameplay? You can find all kinds of game recorders for both amateur and professional streamers out there. They offer different functions: capturing the webcam feed while playing, recording voice comments and game audio, etc. But the set of tools is not all you should consider. You need to make sure the selected program performs well on your computer to avoid crashes.

There’s no need to spend hours surfing the net in search of a suitable recorder. You can find the best 5 ways in this guide, including built-in and third-party programs, free and paid software. Whether you need to capture something simple like Minecraft gameplay or graphically demanding shooter or racing games, you’ll discover a suitable solution.
We’ll also show you how to record game play on PC step by step. These detailed guidelines will help you capture your achievements and hilarious moments in top quality. As a bonus, we’ll give tips and answer some frequently asked questions so you can record games with no performance or quality loss. So, get ready—the game is about to begin!
How to Screen Record Gameplay on PC: Game Bar
Windows 11 and 10 have a native screen recorder—Game Bar. This is a free tool that lets you capture screen activities with ease. You can adjust the recording quality and choose to capture your microphone audio or not. But keep in mind that it doesn’t have a webcam recorder. In general, this program only offers basic recording options. If that’s enough for you, then this is how you can record gameplay on Windows 10 or 11:
- Use the Windows key + G shortcut to launch Game Bar. Then select "Yes, this is a game".
- Hit Start Recording to begin the screencasting session. Alternatively, you can press Win+Alt+R.
- When you need to stop recording, press Windows + G to bring up the Game Bar panel and hit the red button.
How to Record Video Games on PC Using Clipify
Clipify is an automatic video editor that features a powerful screen recorder. It allows you to capture webcam feed, activities on the screen, and both system and microphone audio. This is one of the best Windows screen recorders, and for good reason—Clipify has no time limits.
To avoid lags and crashes, you can also select the needed GPU acceleration in Clipify: Nvidia, Intel, or AMD. This will ensure a smooth game recording even on a low-end computer. Want to give it a try? Then follow these simple steps:
Step 1. Install Clipify on Your Computer
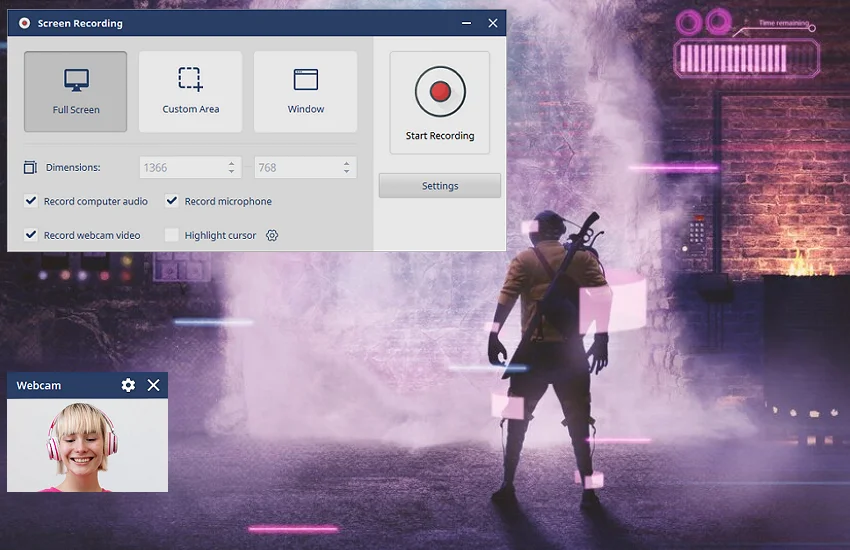
Use the button below to download the video editor on your PC. Follow the setup instructions and launch Clipify. Create a new project and open the screencasting window by clicking Capture Screen Video.
 For Windows 11, 10, 8, 7
Step 2. Capture Gameplay on PC
There are various settings you can customize. To record yourself playing video games, don’t forget to check the Capture Webcam option. If you don’t want to make a gaming video with your face in the corner, uncheck the setting and record a video with webcam separately. You should also decide whether you want to capture the system and microphone audio. Clipify also lets you highlight the cursor, set custom hotkeys, etc.
Once your settings are ready, hit the Start Recording button to begin the screencasting process. It will start after a 5-second countdown.
Step 3. Save the Created Video
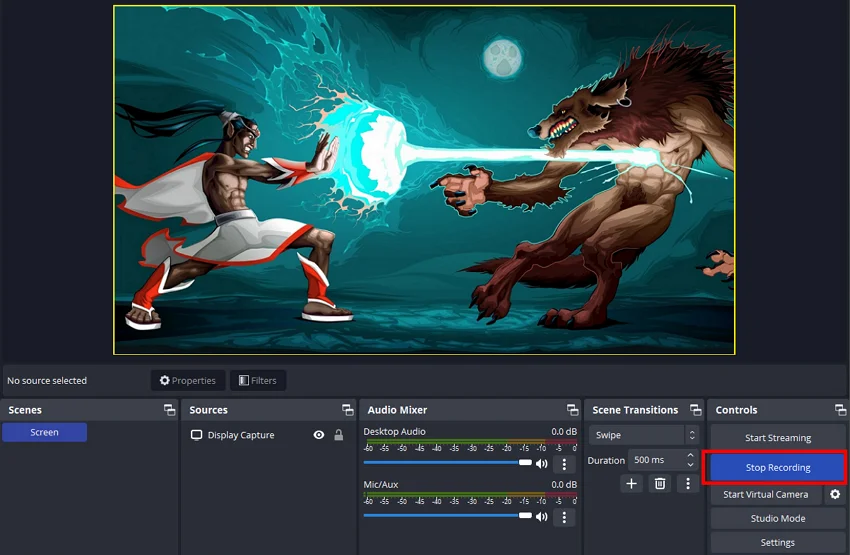
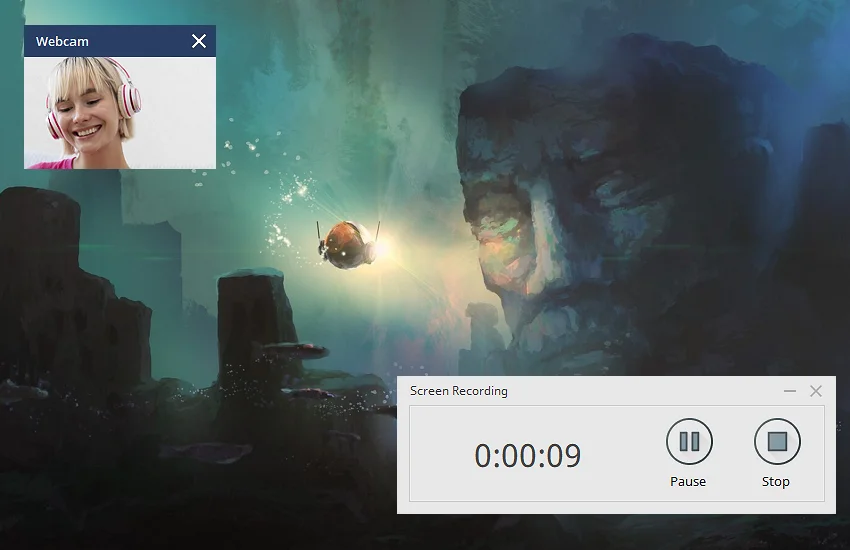
When you’re done, hit the Stop button to stop gameplay recording. Click Create Video to export the file. If you plan to upload it to YouTube, pick the ready-made saving preset. Customize it if needed: change the file size, resolution, and so on.
Your game is over, but the fun is only about to begin! If your recording seems raw, follow these tips to create attention-grabbing videos. Voice over a video, add epic background music, and emphasize funny and dramatic moments with sound effects. Make your gameplay footage stand out with 180+ effects, from 3D to Pan&Zoom effects. Use Clipify’s beginner-friendly Chroma Key tool to instantly change the background of a video. Add your logo, censor personal information, overlay a video on a video, and more!
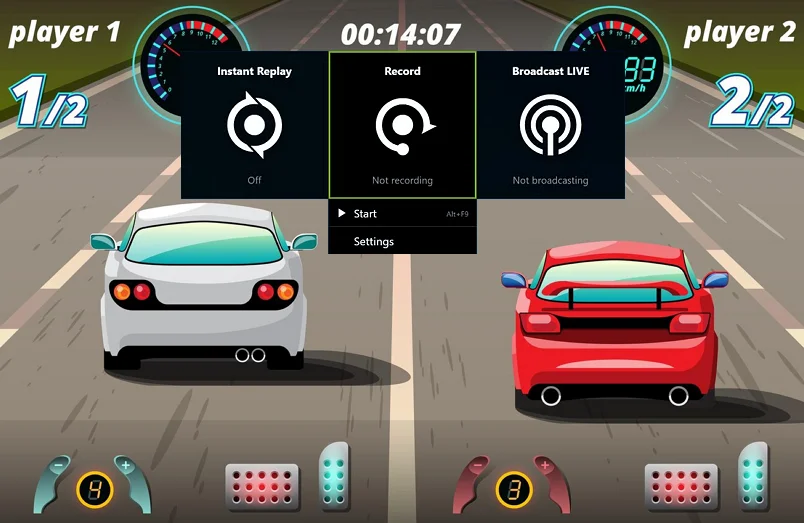
How to Record Gaming on PC with ShadowPlay
Screencasting with Nvidia ShadowPlay is a user-friendly way to record a gaming video for YouTube. You can include webcam footage and change where your webcam view is—this helps you avoid covering important UI elements.
Also, this tool lets you capture audio from both the game and the microphone. However, some users complain that ShadowPlay crashes every now and then. Plus, it’s available only for computers with an Nvidia graphics card. If you have the card required for ShadowPlay, you can check out these instructions:
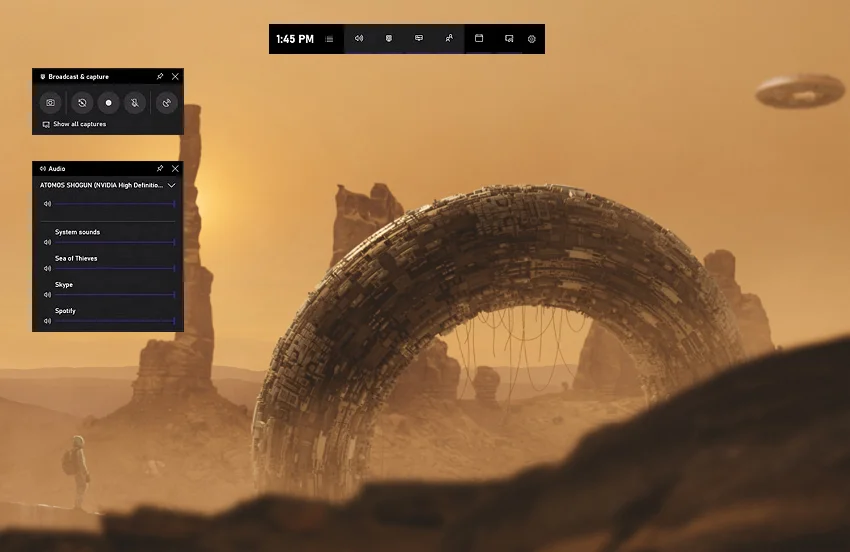
- Press Alt + Z to launch Nvidia ShadowPlay. If this doesn’t work, you probably don’t have installed GeForce Experience. Download it from Nvidia's website and try using the same shortcut again.
- Open Settings and scroll all the way down until you find Privacy Control—then, enable Desktop Capture. Go to the Recordings settings and choose the destination folder. Customize other settings if necessary.
- Hit Record and click Start or press Alt + F9. Use the same shortcut to stop recording.