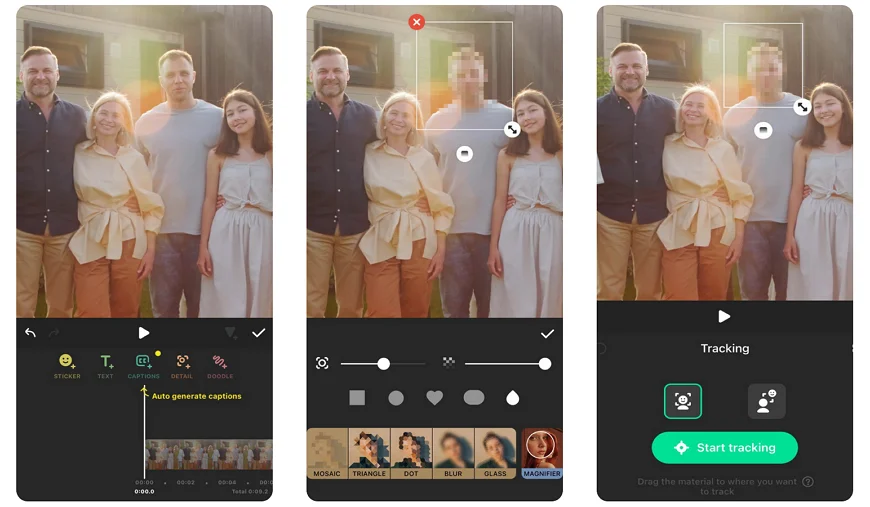
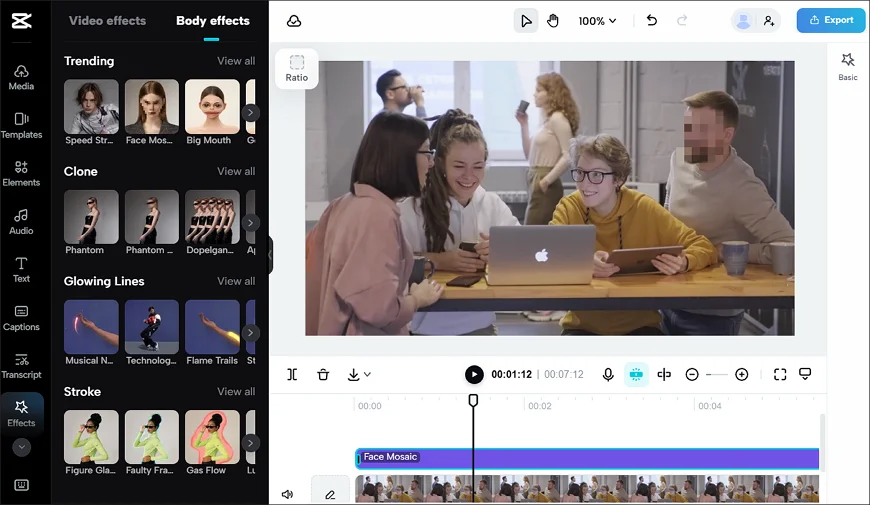
How to Blur Someone's Face in a Video
When filming in public, passers-by may be caught in the frame. If they haven't given you permission to appear in your video, it is better to censor their faces. As content is now easily shared and widely accessible, this step protects both you and the identities of those accidentally captured. Curious about how to blur a face in a video?
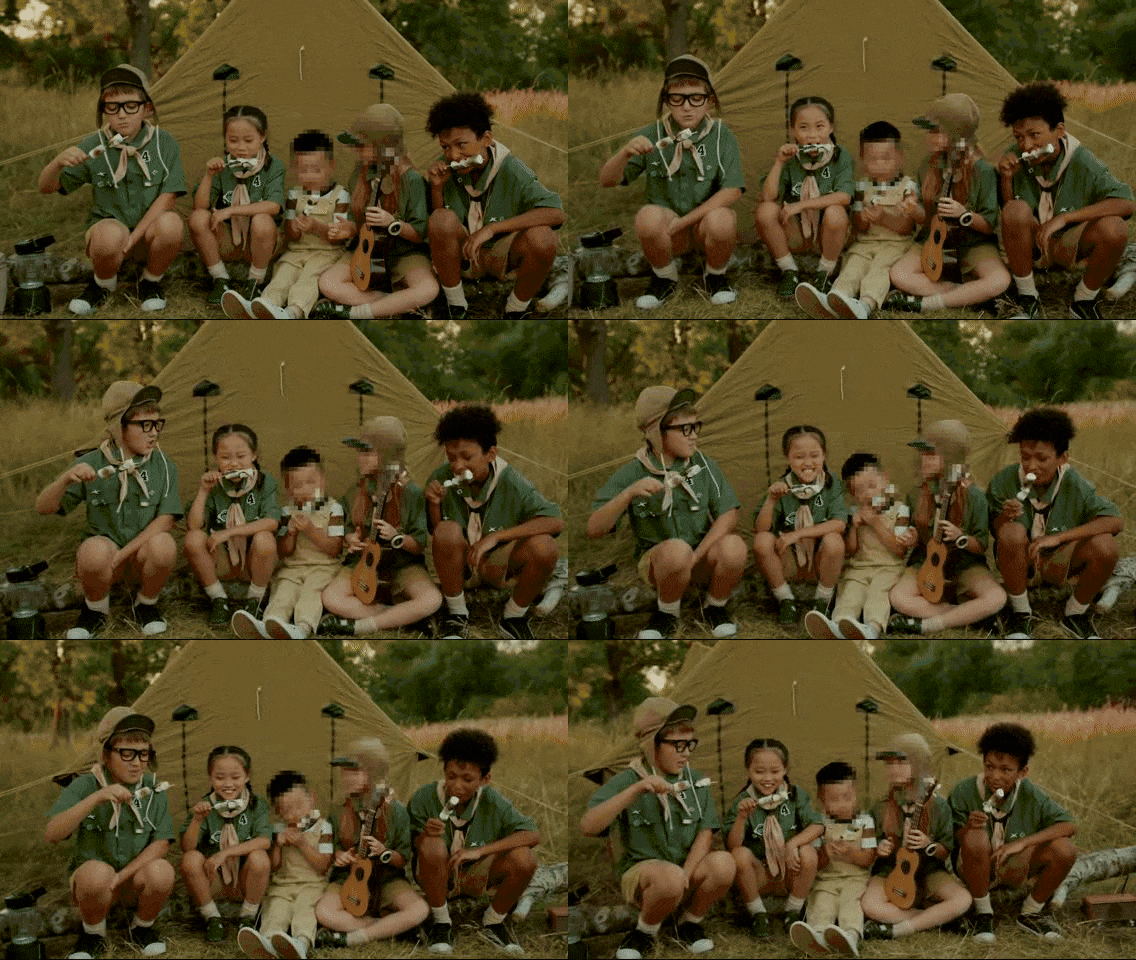
For content creators, ordinary tourists, and even worried parents, applying a blurred face effect has become standard practice for various reasons. Here are a few key ones:
- Respect the privacy of people whose faces you don't have permission to show
- Protect the identities of individuals who may face danger if publicly recognized
- Follow the law, especially when filming in public or covering sensitive topics
- Reveal a person’s identity at a strategic point to boost video engagement
- Focus the viewer on the main subject when multiple people are in the frame.
Whatever the reason, below, we'll share with you 4 programs designed for use on computers running Windows or macOS. You will also find tools for smartphones and web browsers, as well as answers to some frequently asked questions.
How to Blur People's Faces in Videos on Windows
If you need an easy-to-handle video editor that allows you to cover up someone’s face in a snap, check out Clipify. This automatic video editing software makes it easy to get started, even if you're new to montage. Its censoring feature lets you blur and pixelate people’s faces and figures in the frame. Set the intensity, shape, and size of the effect with intuitive sliders and buttons. If someone is moving in your video, use motion tracking by adding keyframes. Here’s how to do it step-by-step:
Step 1. Install Clipify
To get started, click the button below and download Clipify. Once done, open the installation package and follow the instructions to launch the software.
Step 2. Upload Your Footage
Create a new project and add the clip you want to edit using the Add Videos and Photos button. Or just drag and drop it into the timeline.
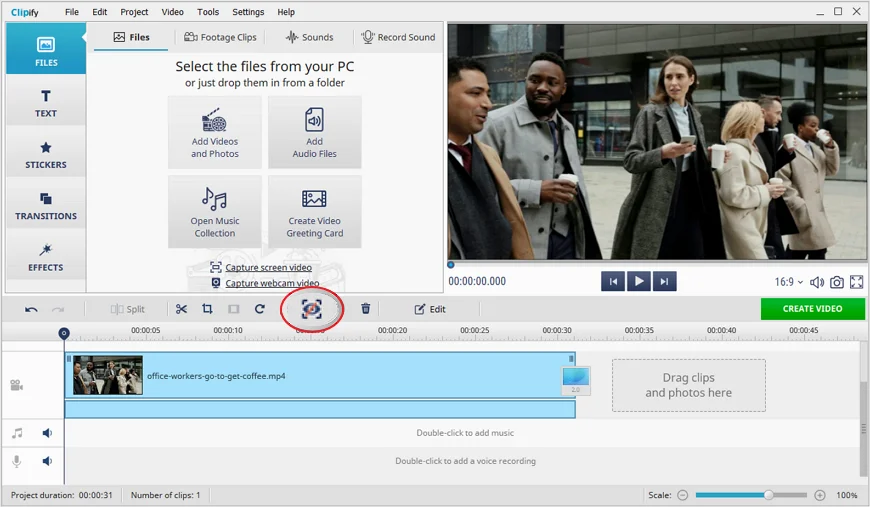
Step 3. Blur the Faces
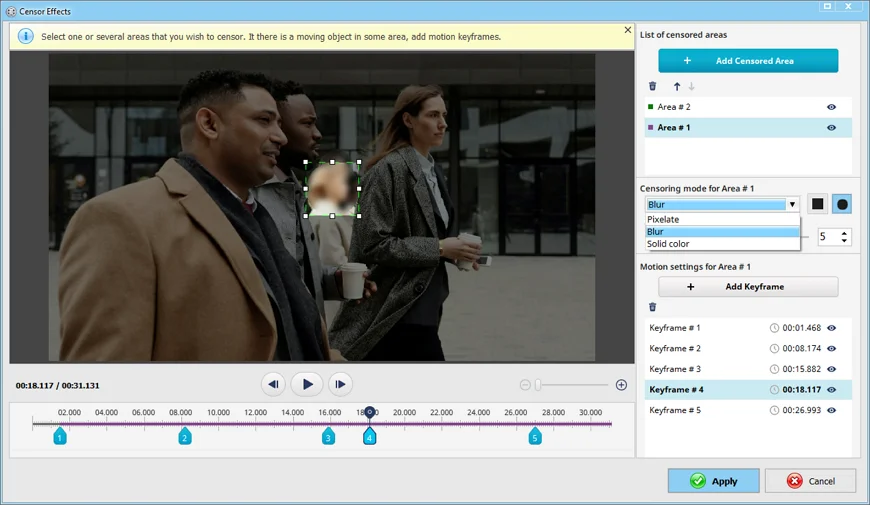
Select the Censor Sensitive Areas feature above the timeline to open the settings window in this video editor. To blur faces, click the Add Censored Area button, move the pixelated area to the needed place and adjust its size. You can change the censoring mode to blur and solid color as well. If you need to blur a moving face in video, just add motion keyframes to change the position of the censoring effect.
Step 4. Save & Share
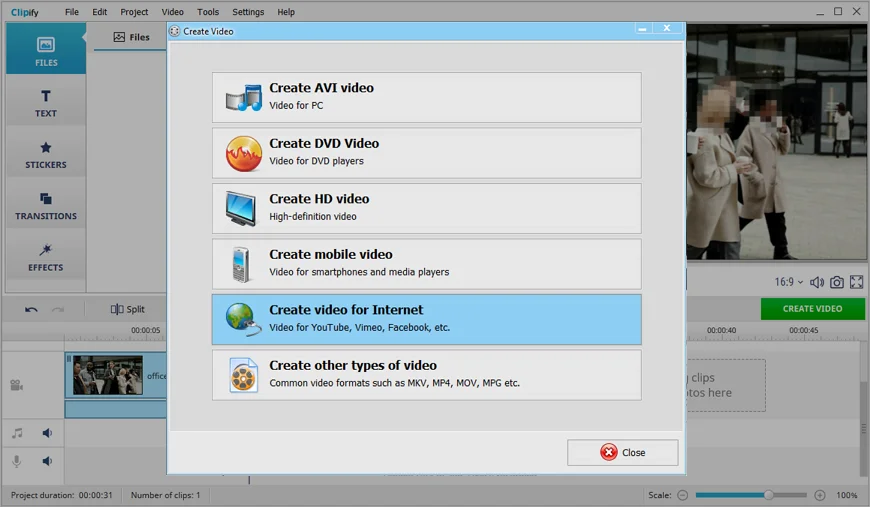
Once you’re satisfied with the result, click Create Video to save your censored clip. Now share it on any social media or post it on YouTube without any worries.
Looks quite easy, doesn't it? And that was just a glimpse of what Clipify can do. With this
How to Blur Faces in iMovie
Are you an Apple user and don’t have enough storage space to download any extra software? Try using the pre-installed iMovie video editor. Unfortunately, blurring faces in video is a bit tricky with this application, as it doesn't have a dedicated blur tool. The method we’ll show also requires the subject's face to stay mostly in the same position. If these drawbacks don't put you off, just follow the steps below.
- Open your footage in iMovie Launch the program, then start a new project and click Import Media to add the video where you need to cover a person's face.
- Find the frame you want to blur Play the video until the face appears in the preview window. Pause it on this frame to capture a clear image of the area you’ll be blurring.
- Take a screenshot of the frame Press Shift + Command + 4 on your Mac, and select the face area to capture a screenshot. This image will serve as the basis for your blur effect.
- Blur the screenshot with any photo editor Search for face blurring software on the Internet or find one in the App Store to make the captured face pixelated.
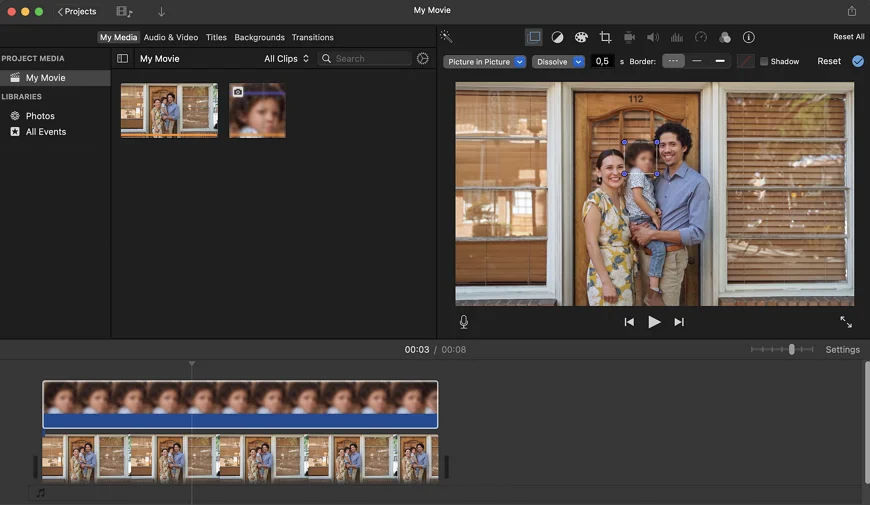
- Add the blurred image over your video Go back to iMovie and import your blurred image into the program. Drag it over the original video clip in the timeline, positioning it exactly where the face appears. Select the
Picture-in-Picture feature above the preview window to make it an overlay. - Adjust the size and position Resize and move the blurred overlay to cover the face perfectly. Adjust the duration of this overlay to match the time when the face is visible.
- Preview and save Play through the clip to make sure the blurred area covers the face correctly. Once perfect, click the Share icon in top-right to export your censored video.
 Clip
Clip