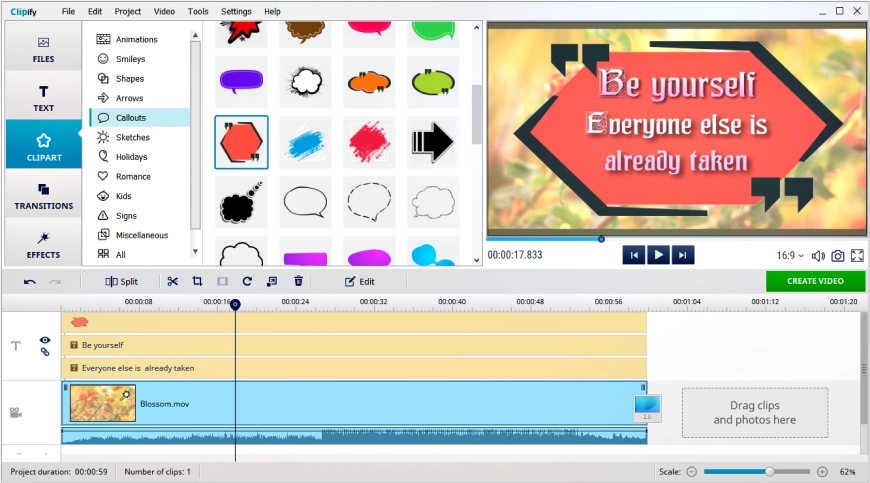
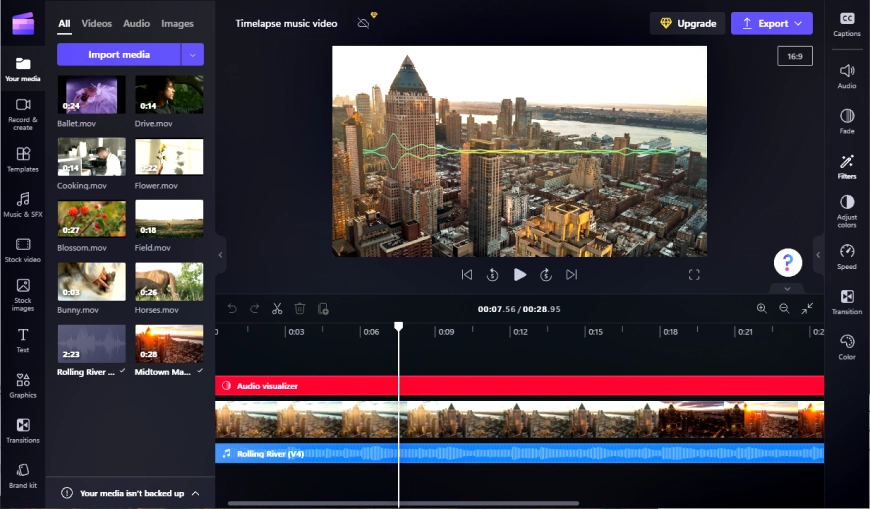
How to Edit MOV Files – 8 Easy Techniques
MOV is a rather popular video format created by Apple for its macOS. These video files are basically multimedia containers with several tracks of different data types: sound, video, text, and more. This makes editing MOV files especially convenient. Unfortunately, MOV videos are not easily compatible with non-Apple devices, but modern software manages to bridge that gap. So, if you want to include MOV files in your movie on any device – you can!
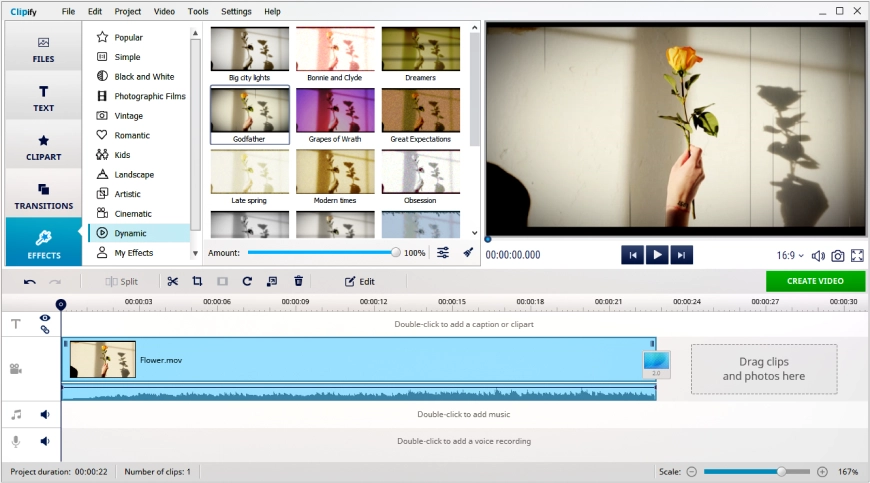
However, now you have to choose a video editor for your project, and we recommend taking a look at Clipify. It is a free program that offers one of the most effective ways to edit MOV files on a personal computer powered by Windows 7 or newer. Clipify provides instruments for basic editing, such as filters and effects, as well as some advanced features for color grading, sound processing, and much more!
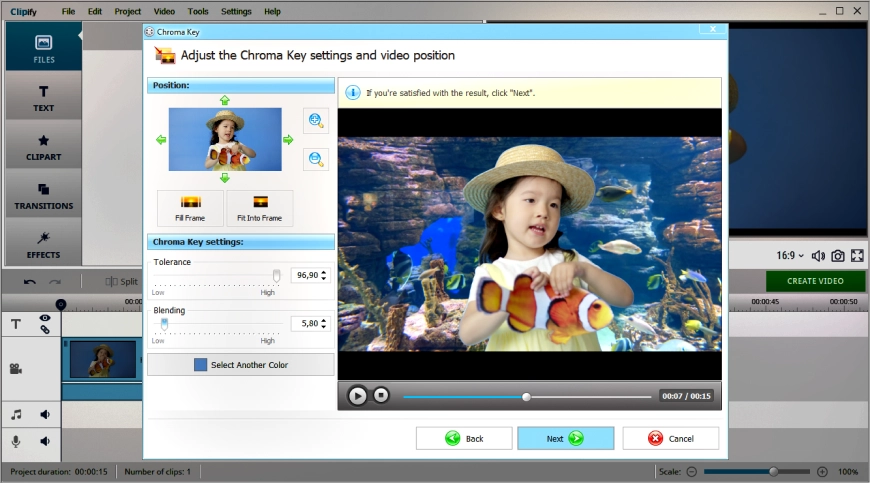
In this guide, we'll show how to edit MOV files with step-by-step instructions for different techniques. Framing, trimming, erasing background, speeding up or slowing down, stitching clips together, and cutting unneeded bits out – all of this is achievable with Clipify, a free automatic video editor. In addition, we will look at some Clipify alternatives.
So let’s get started! First things first, you need to install the program for the job. Click the button to download the free version of Clipify and see what you are able to do with your MOV videos.
Run the file and follow the instructions to install the MOV editor. Once you do, let's take a look at a few ways to play with your footage using the tools at hand.
Way 1. Crop and Frame the MOV Video
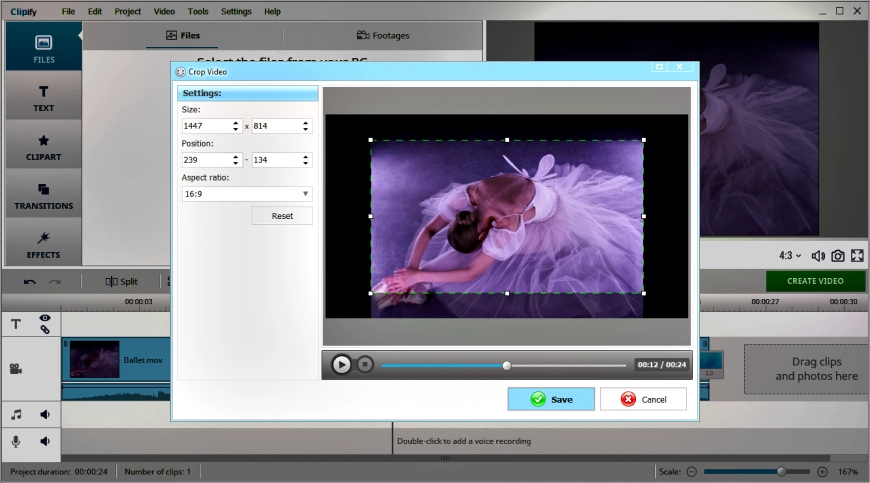
Black bars are a common occurrence in video editing. They appear when the proportions of your footage and the target screen do not match. One common cause is showing a vertical video on a horizontal screen. In this case, you may convert a vertical video to horizontal one. But here’s how to use framing in MOV movie editing:
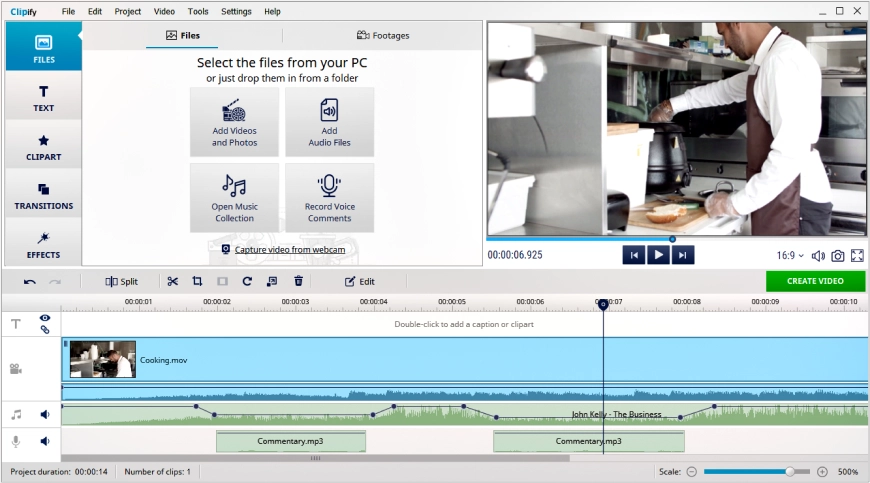
- Run Clipify. Launch the program and create a blank project. Then drag your clip to the timeline, or click the Add Videos and Photos button and find it in the file browser.
- Pick the cropping tool. Select the clip on the timeline and click the Crop button.
- Select a preset. The quickest method to change the aspect ratio is to use ready-made presets which include the most popular 16:9 and 4:3 formats.
- Try custom settings. You can also use the Free Crop tool and set any aspect ratio you want. Then click Apply.
Way 2. Edit MOV Files Automatically
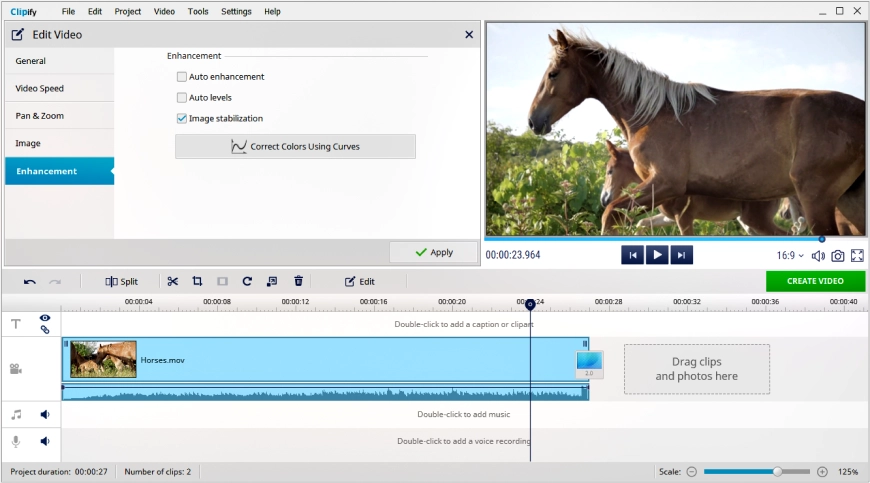
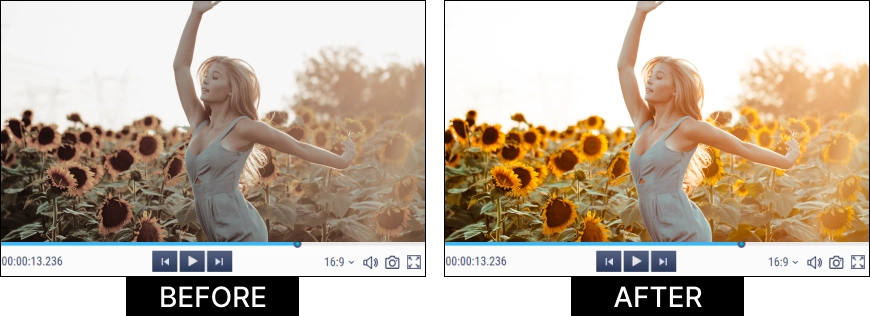
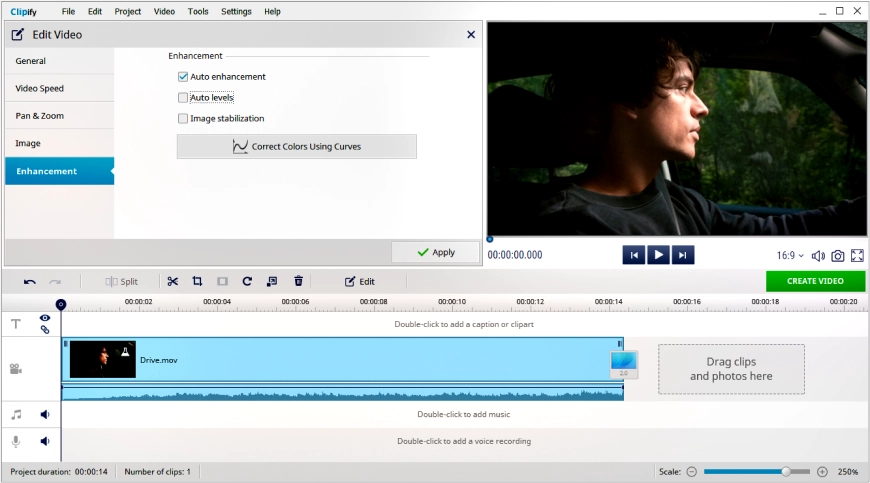
Check one box, and Clipify will enhance the lighting and contrast of your video, enrich the tones, and make the overall look way better. Thanks to the Auto Enhancement feature, editing MOV files with Clipify is possible with minimal input on your part! Here’s how to use this feature:
- Open the editing menu. Click on your video on the timeline to select it, then click the Edit button.
- Use the auto enhancement. Open the Enhancement tab and tick the Auto Enhancement checkbox.
- Save the changes. Take a look at the result in the preview player and click Apply.
Way 3. Stitch Some MOV Files into One
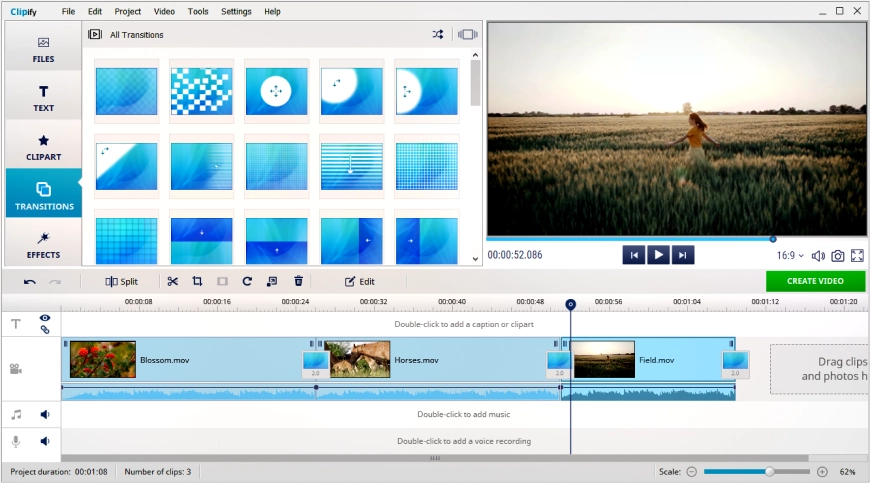
Having multiple clips opens much more possibilities than editing just one. This can be achieved either by splitting and cutting parts out of a video or opening multiple files in the MOV editor. Either way, here’s what you can do with a set of pieces:
- Arrange the clips. Experiment with the sequence of your clips, making them flow smoothly into one another and matching the music if you use it in your project.
- Trim unwanted parts. Select a clip, then click the Edit button on the toolbar above the timeline. Then click Cut and Set Duration. Enter the exact start and end time values, or select the portion of the clip you want to keep with the blue markers. Then click the Apply button.
- Add transitions. Next, open the Transitions tab and drag your preferred transition onto the timeline. There are plenty of options, from uncomplicated swipes and fades to more artistic morphs and whatnot. To apply the same transitions to all clips in the project, simply click the Apply Transition to All Clips button. You can also let the program add random transitions to every juncture.
 Clip
Clip